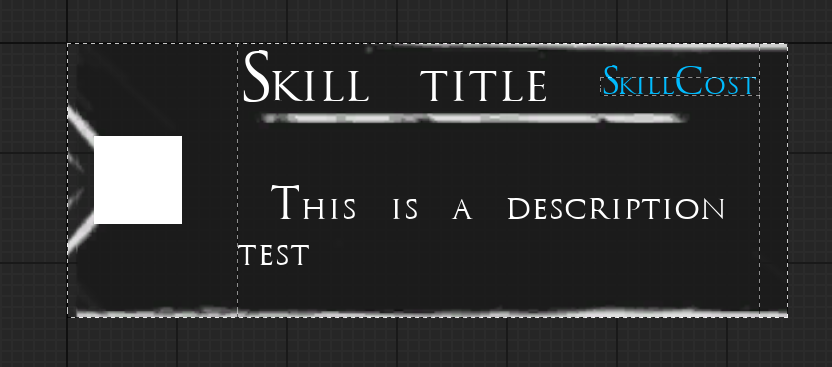
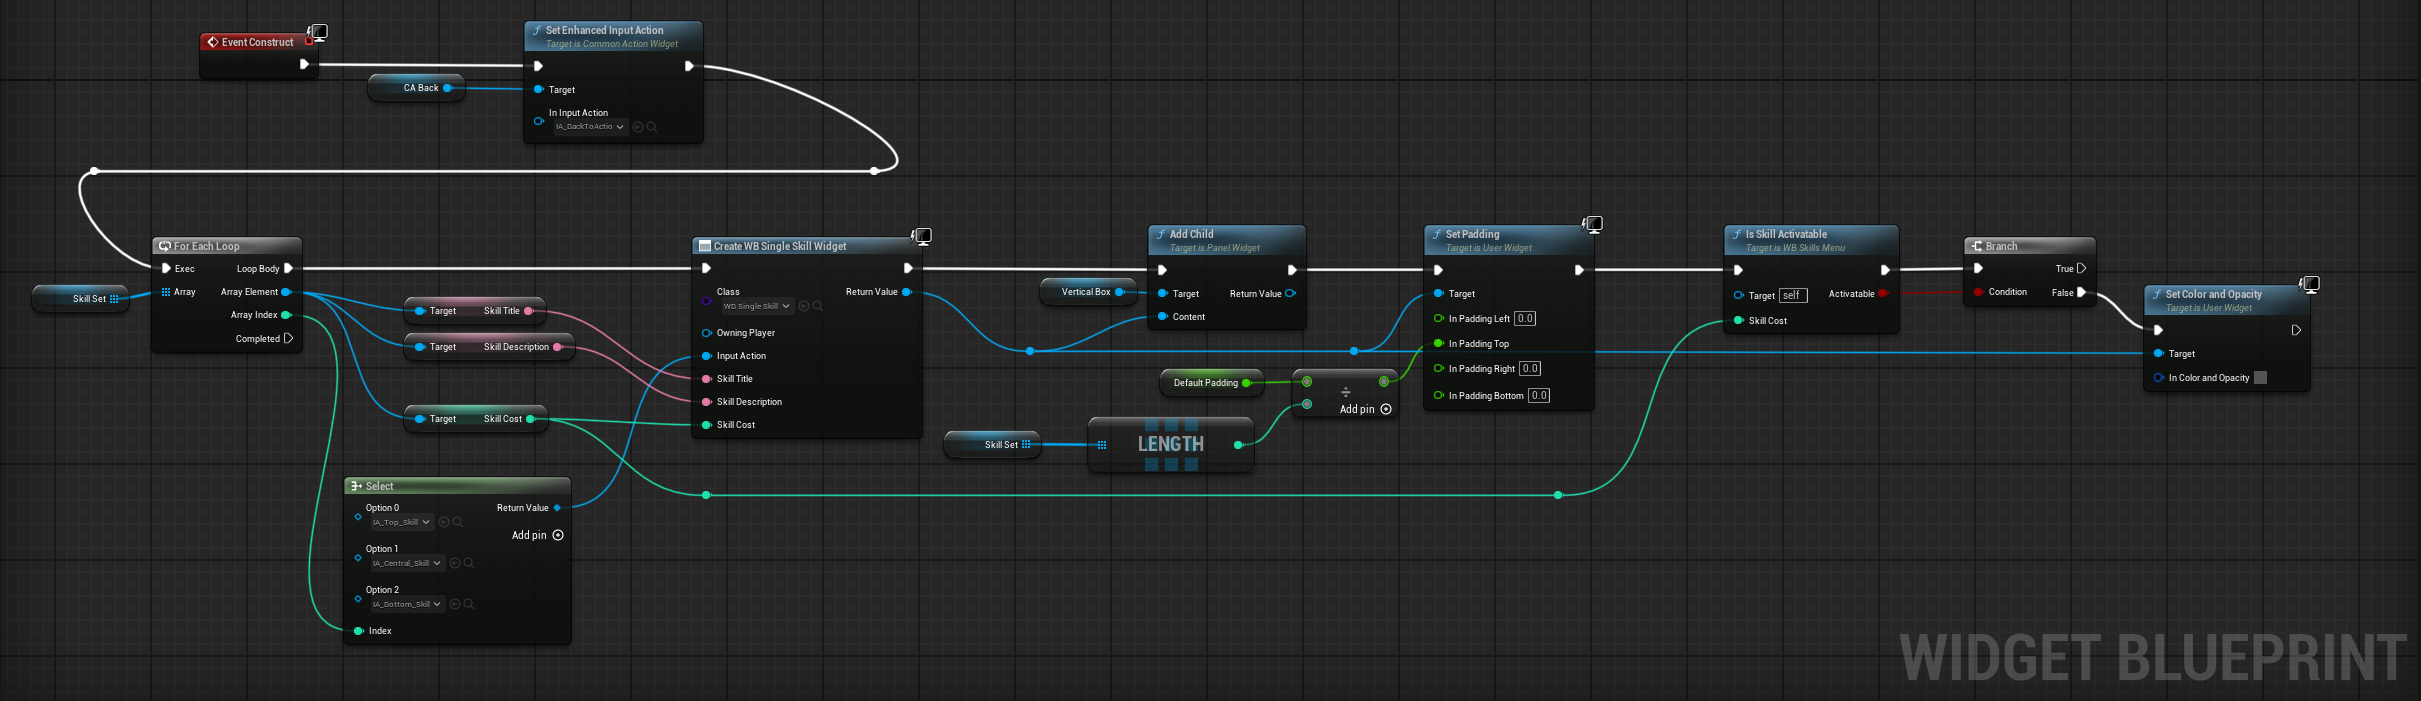
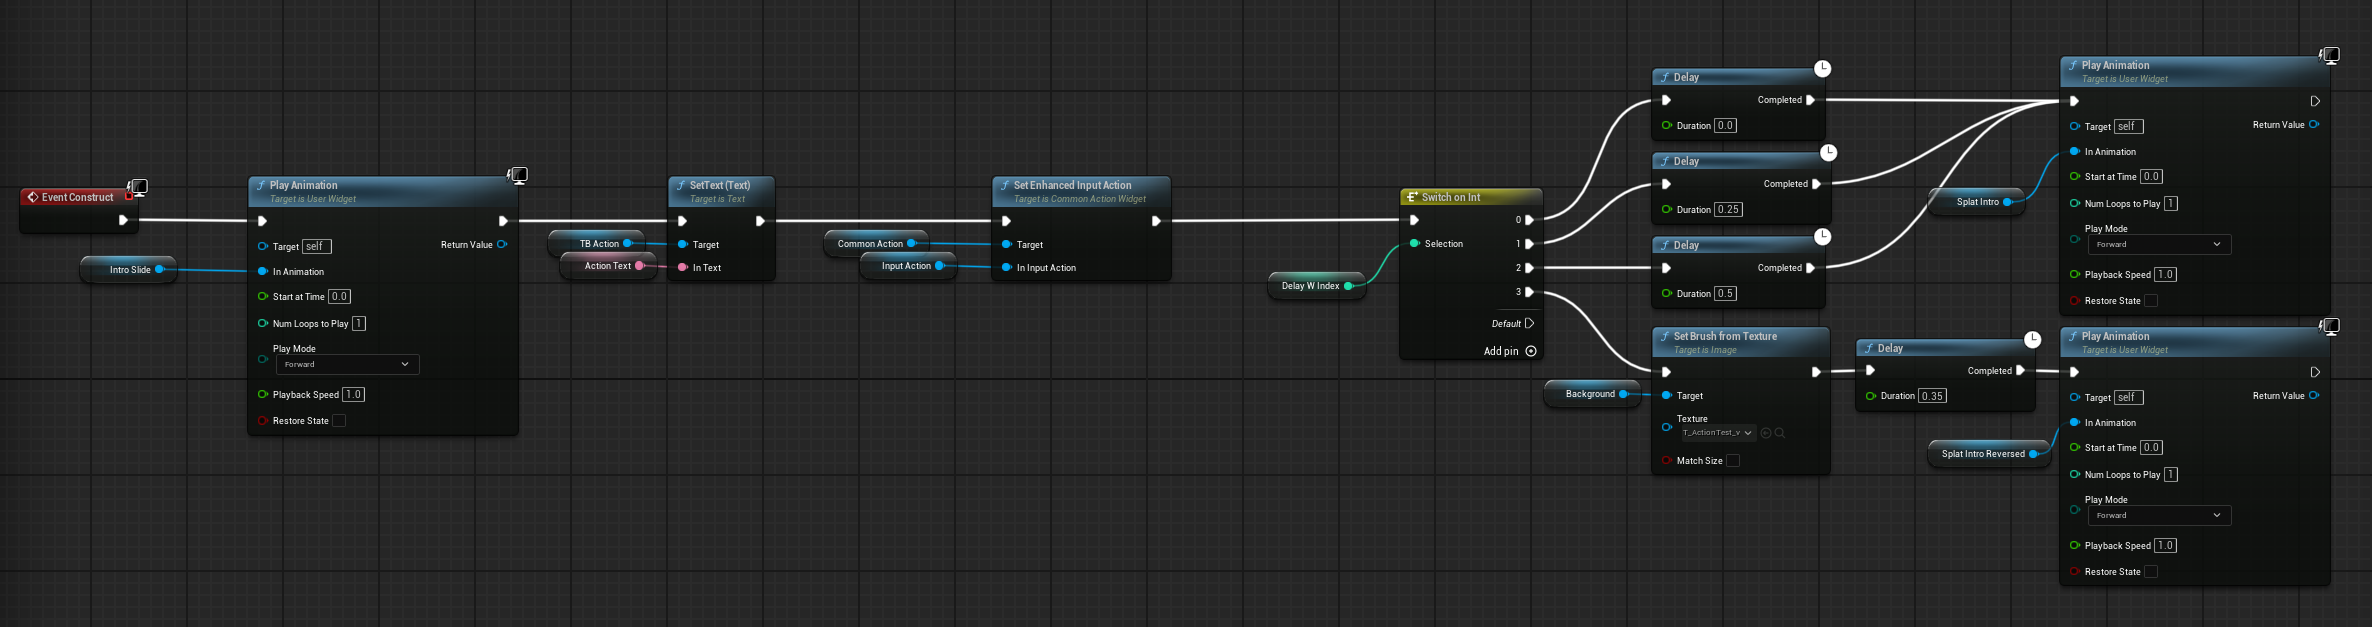
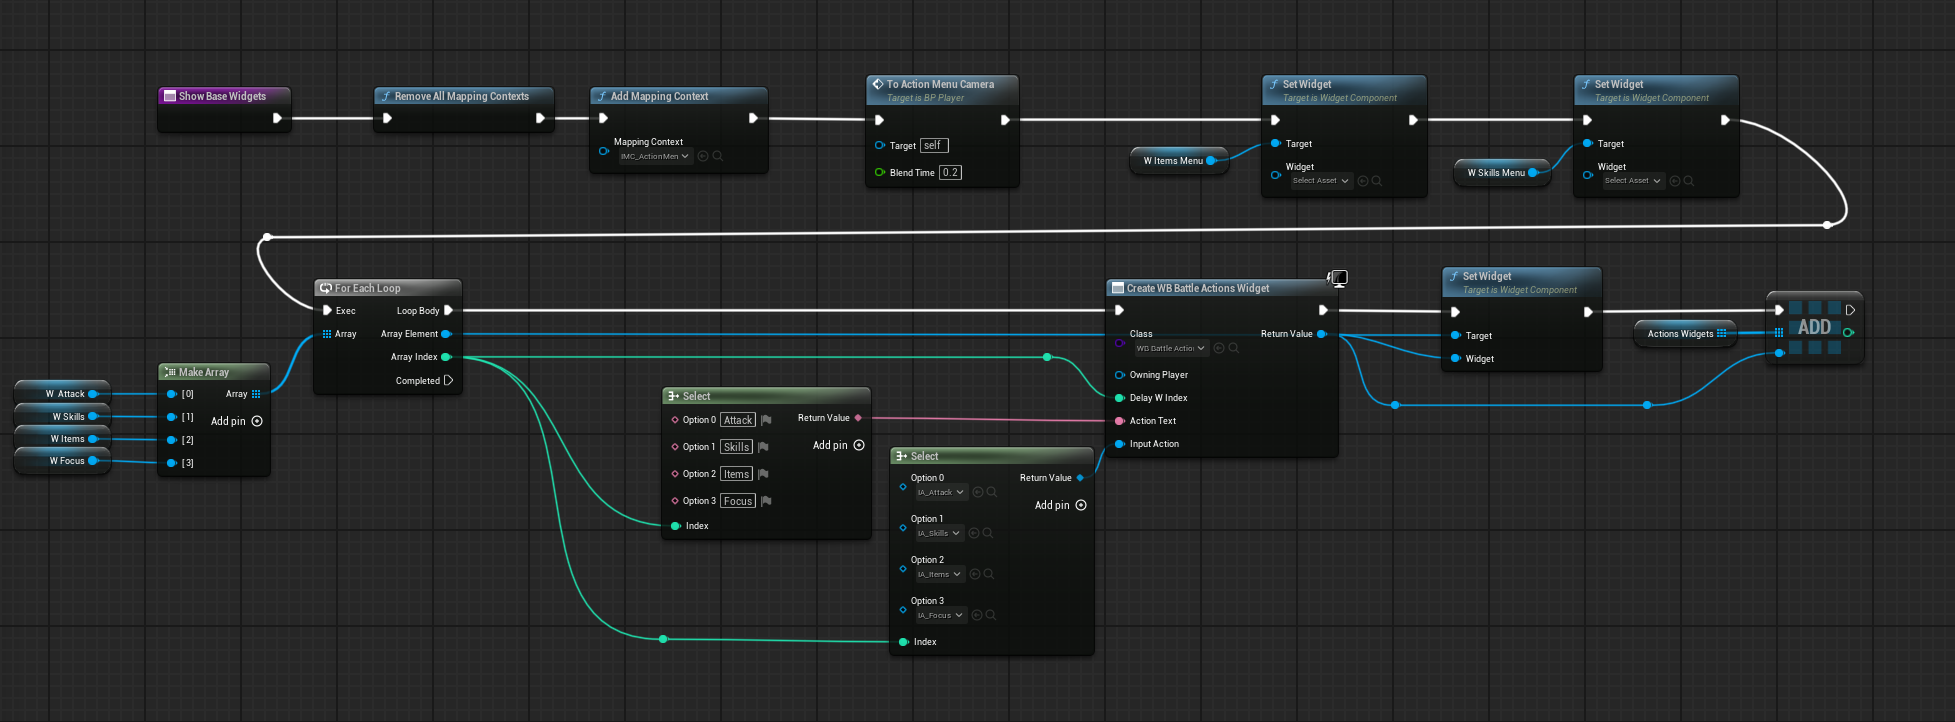
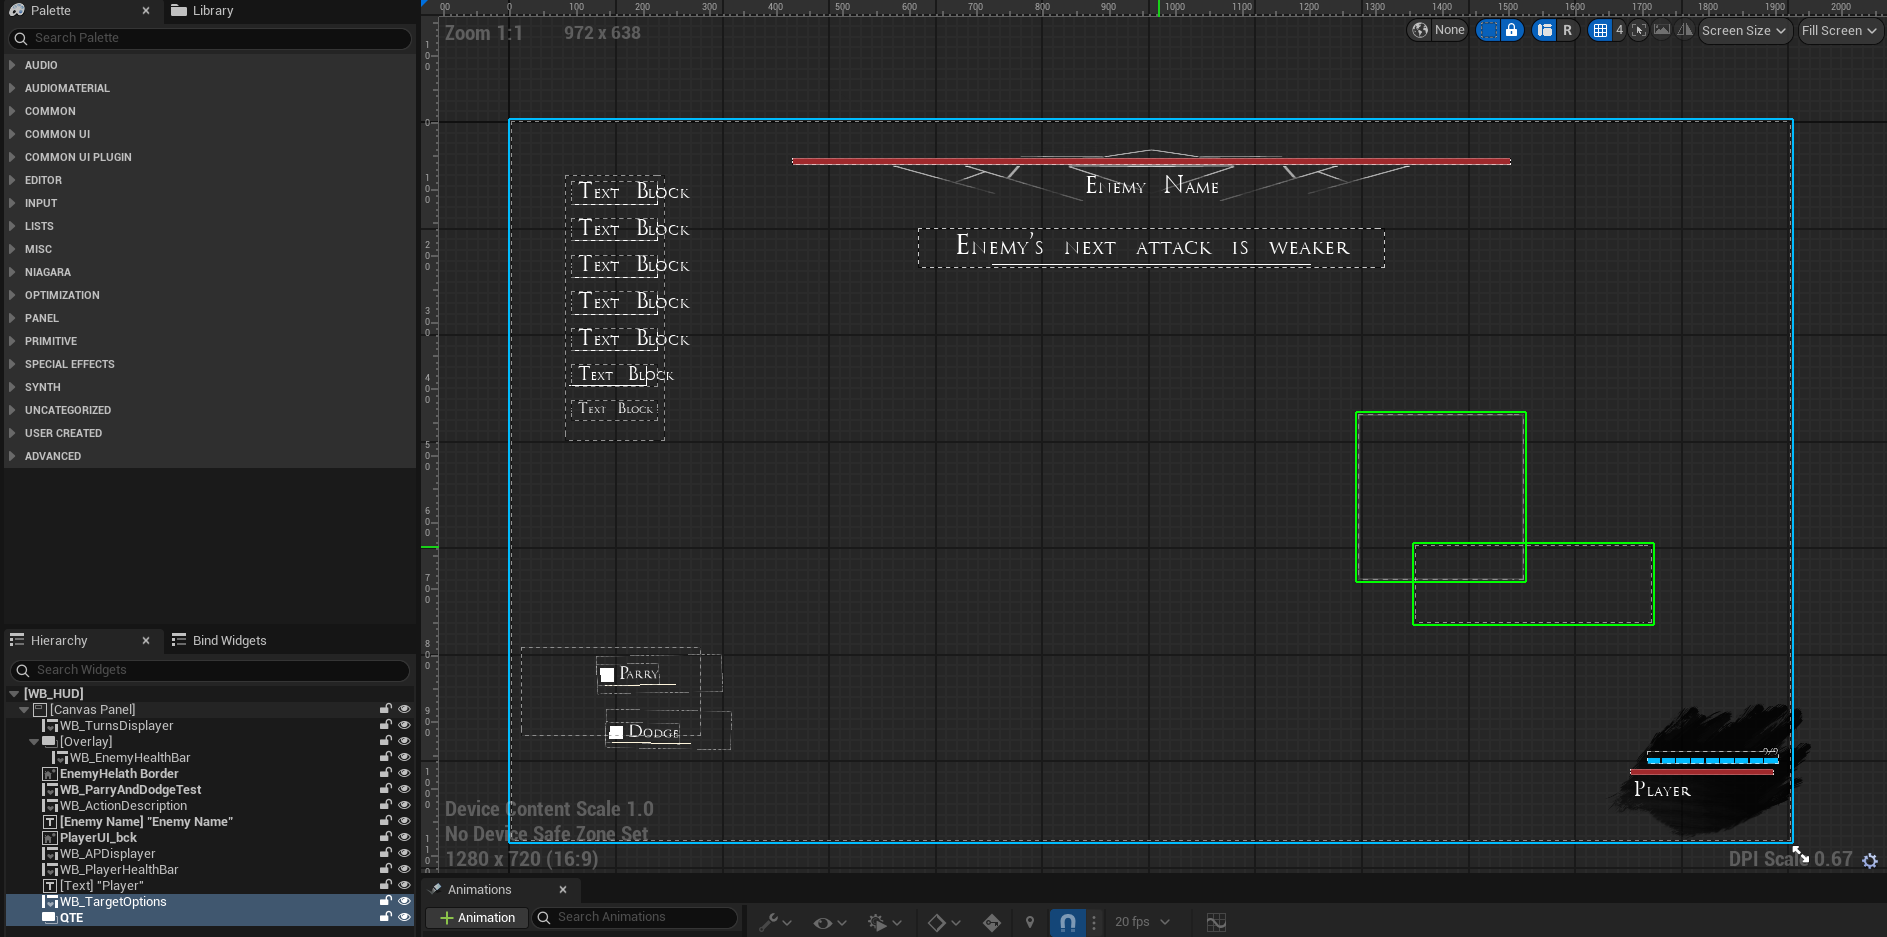
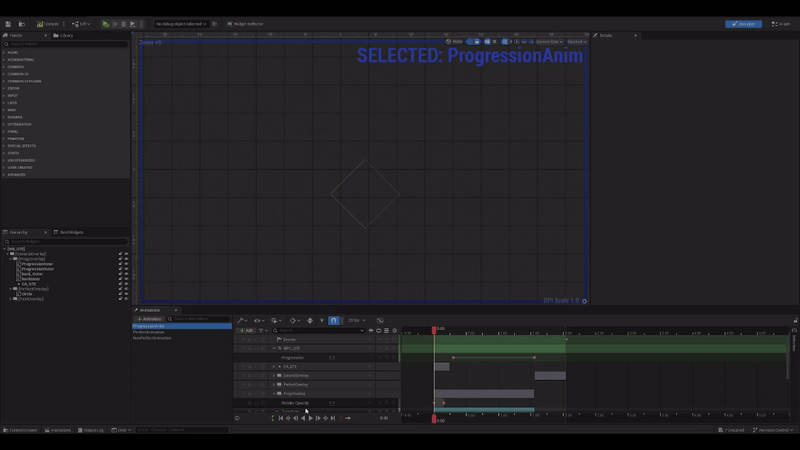
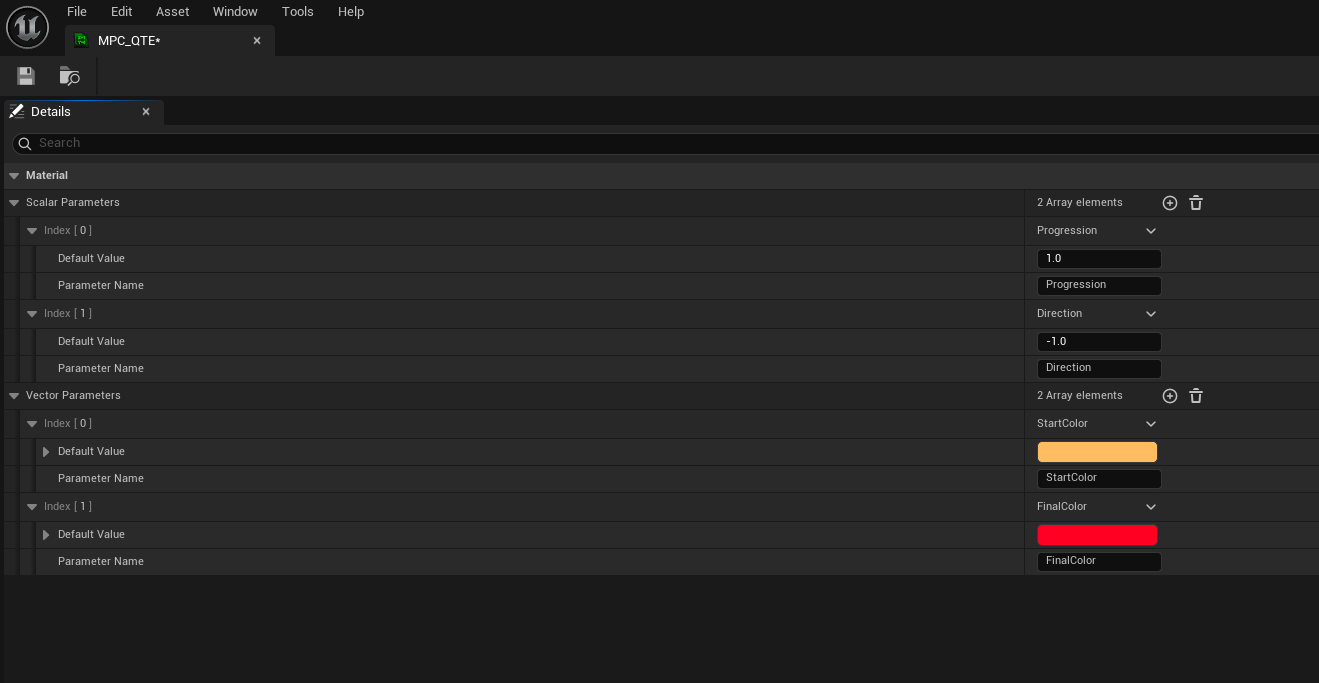
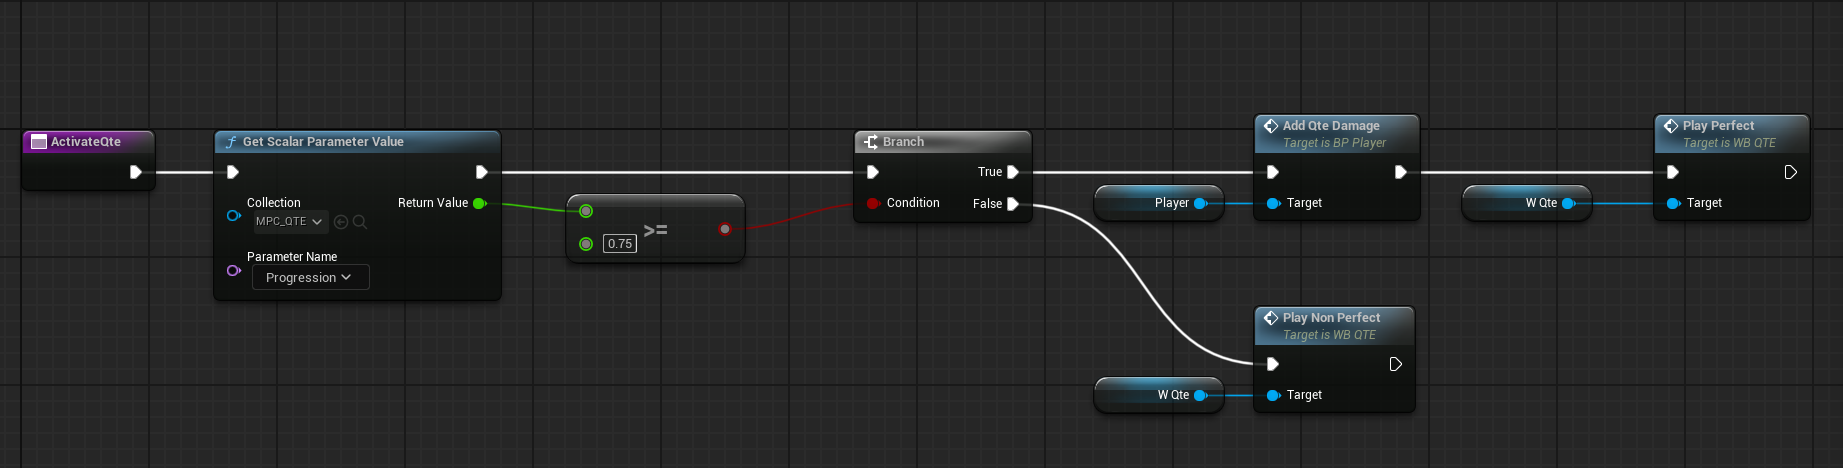
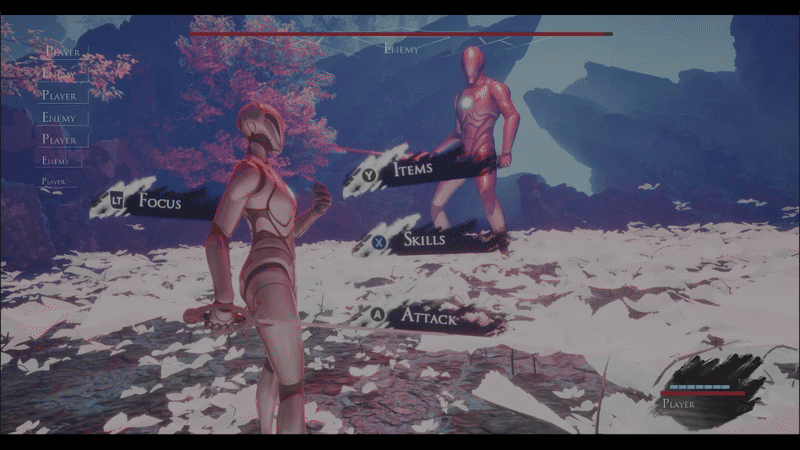
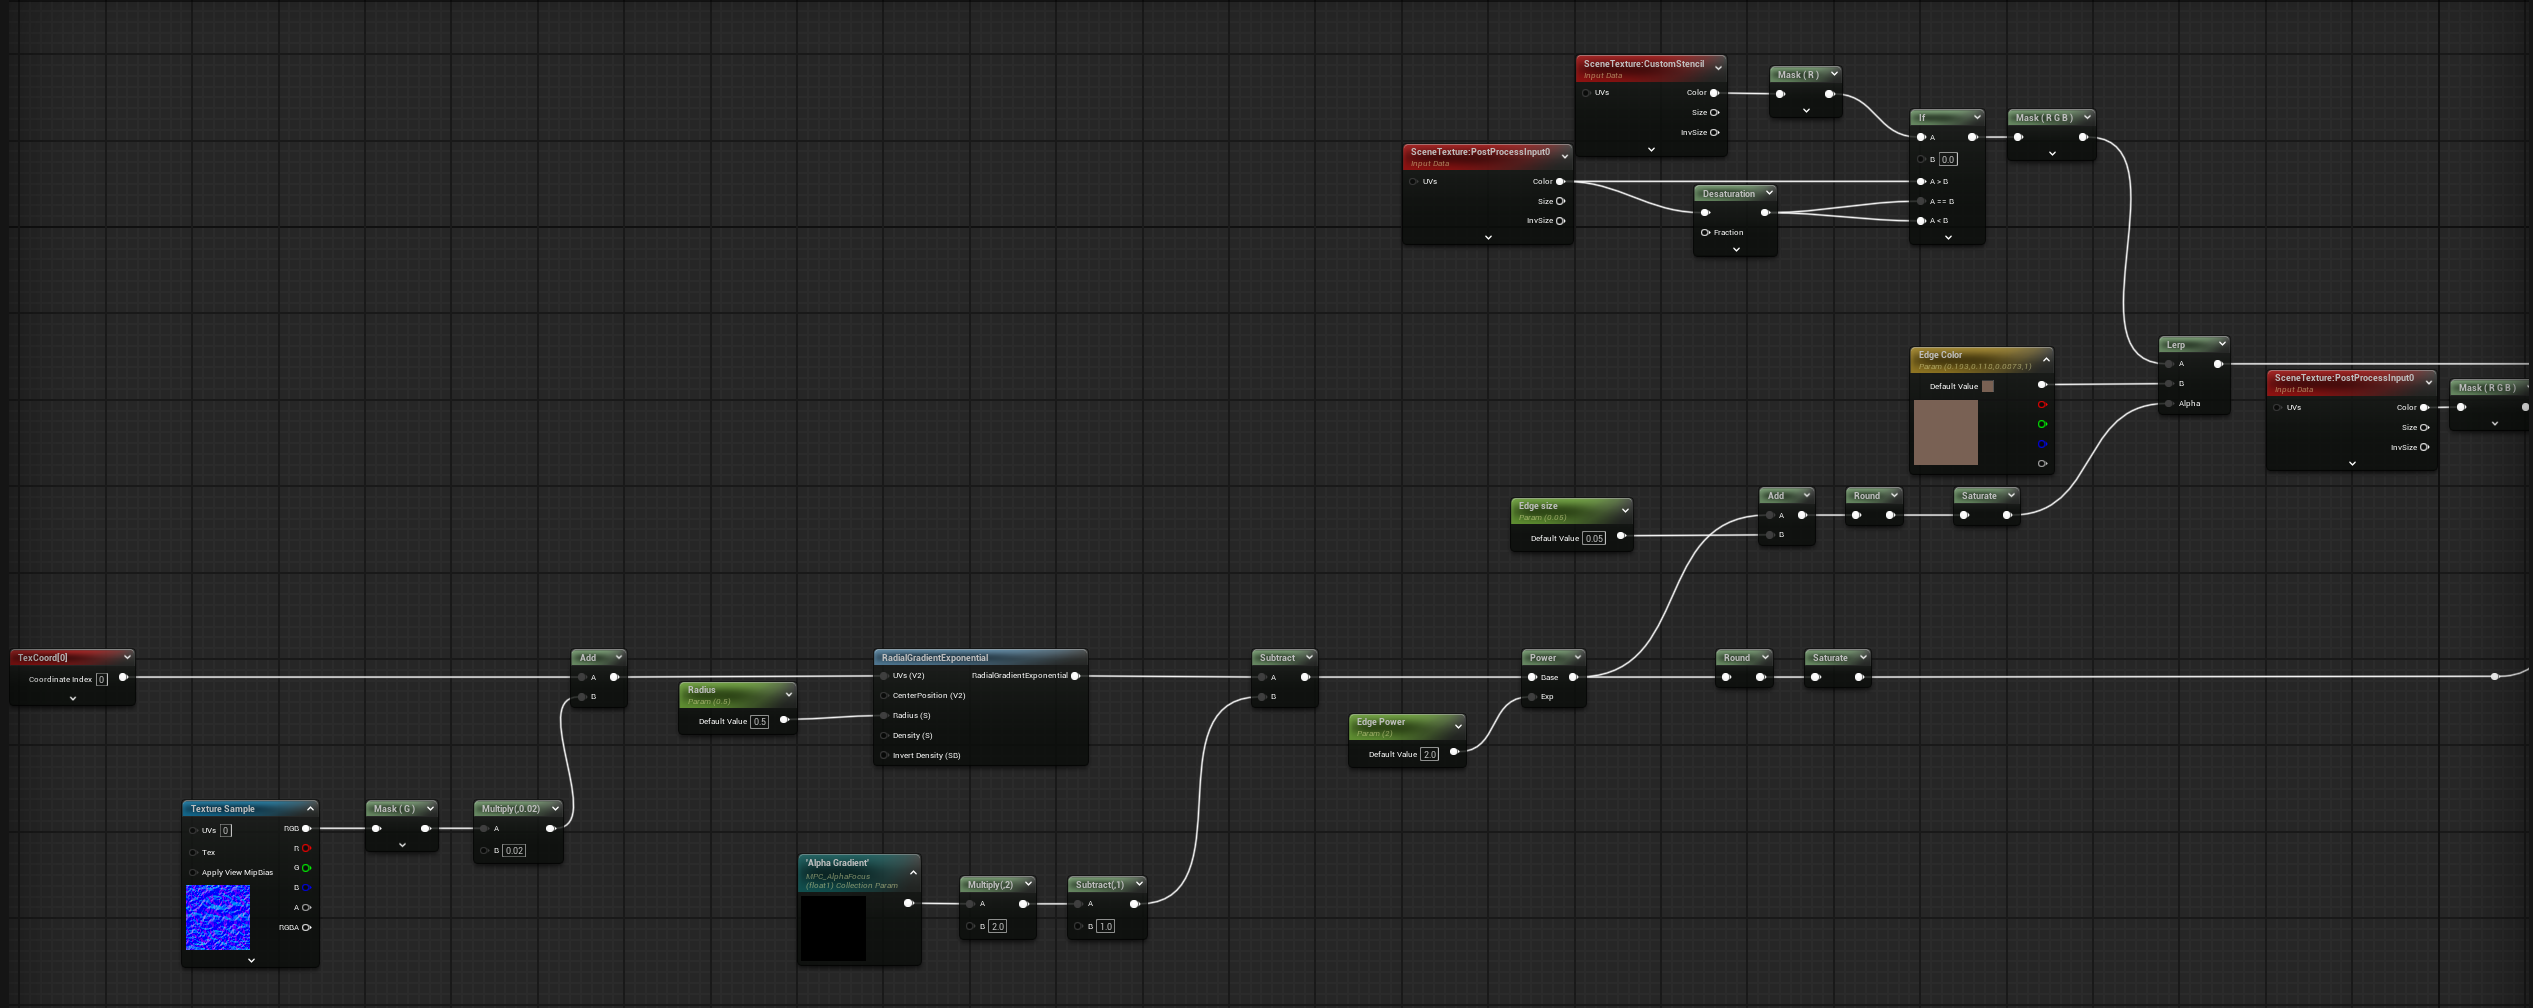
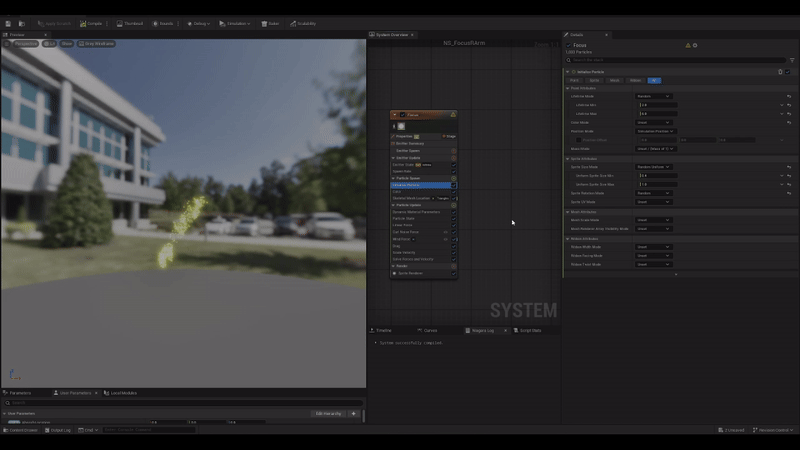
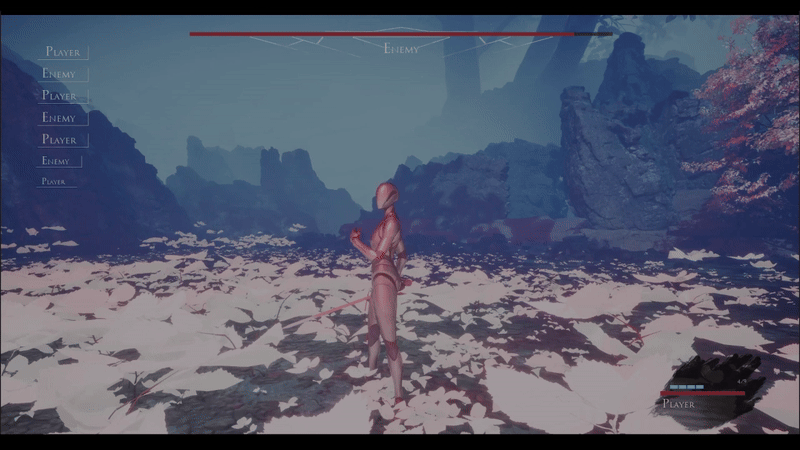
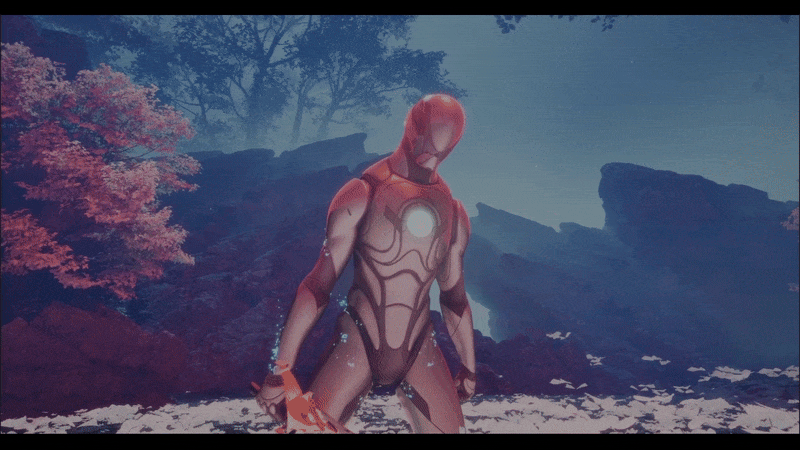
Expedition 33 love letter


What is it

Expedition Love Letter gif

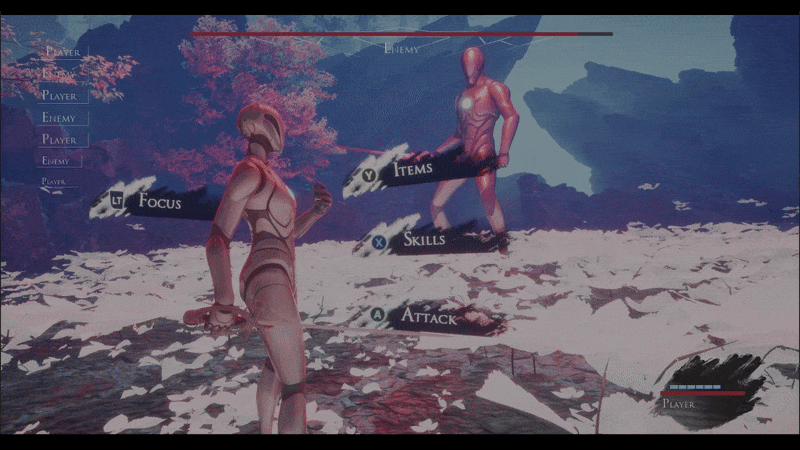
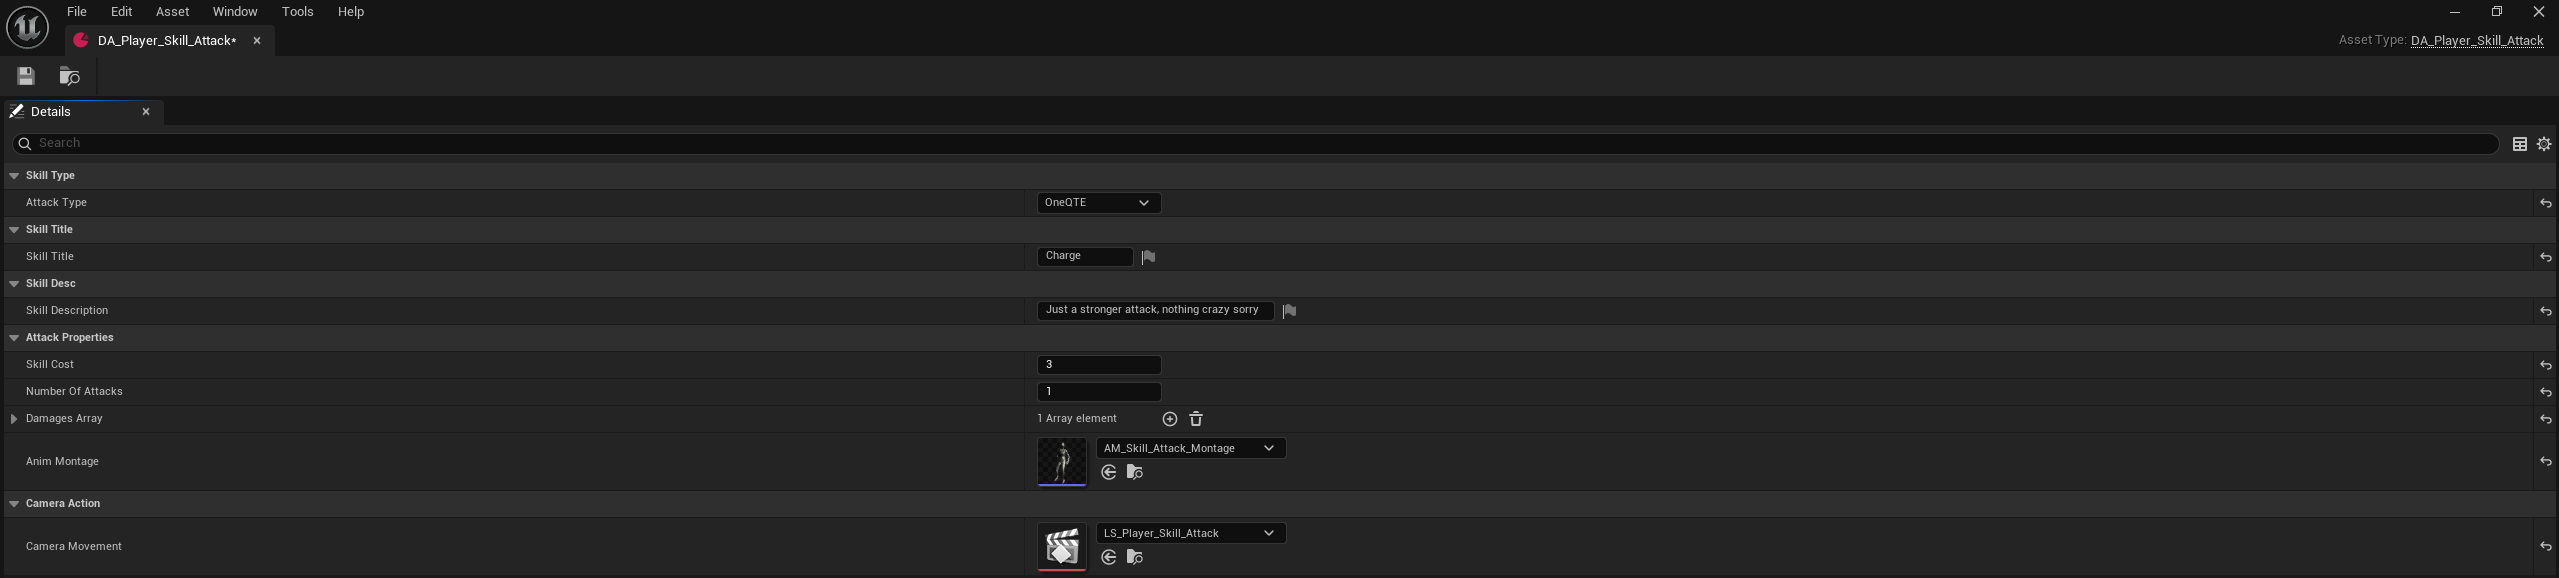
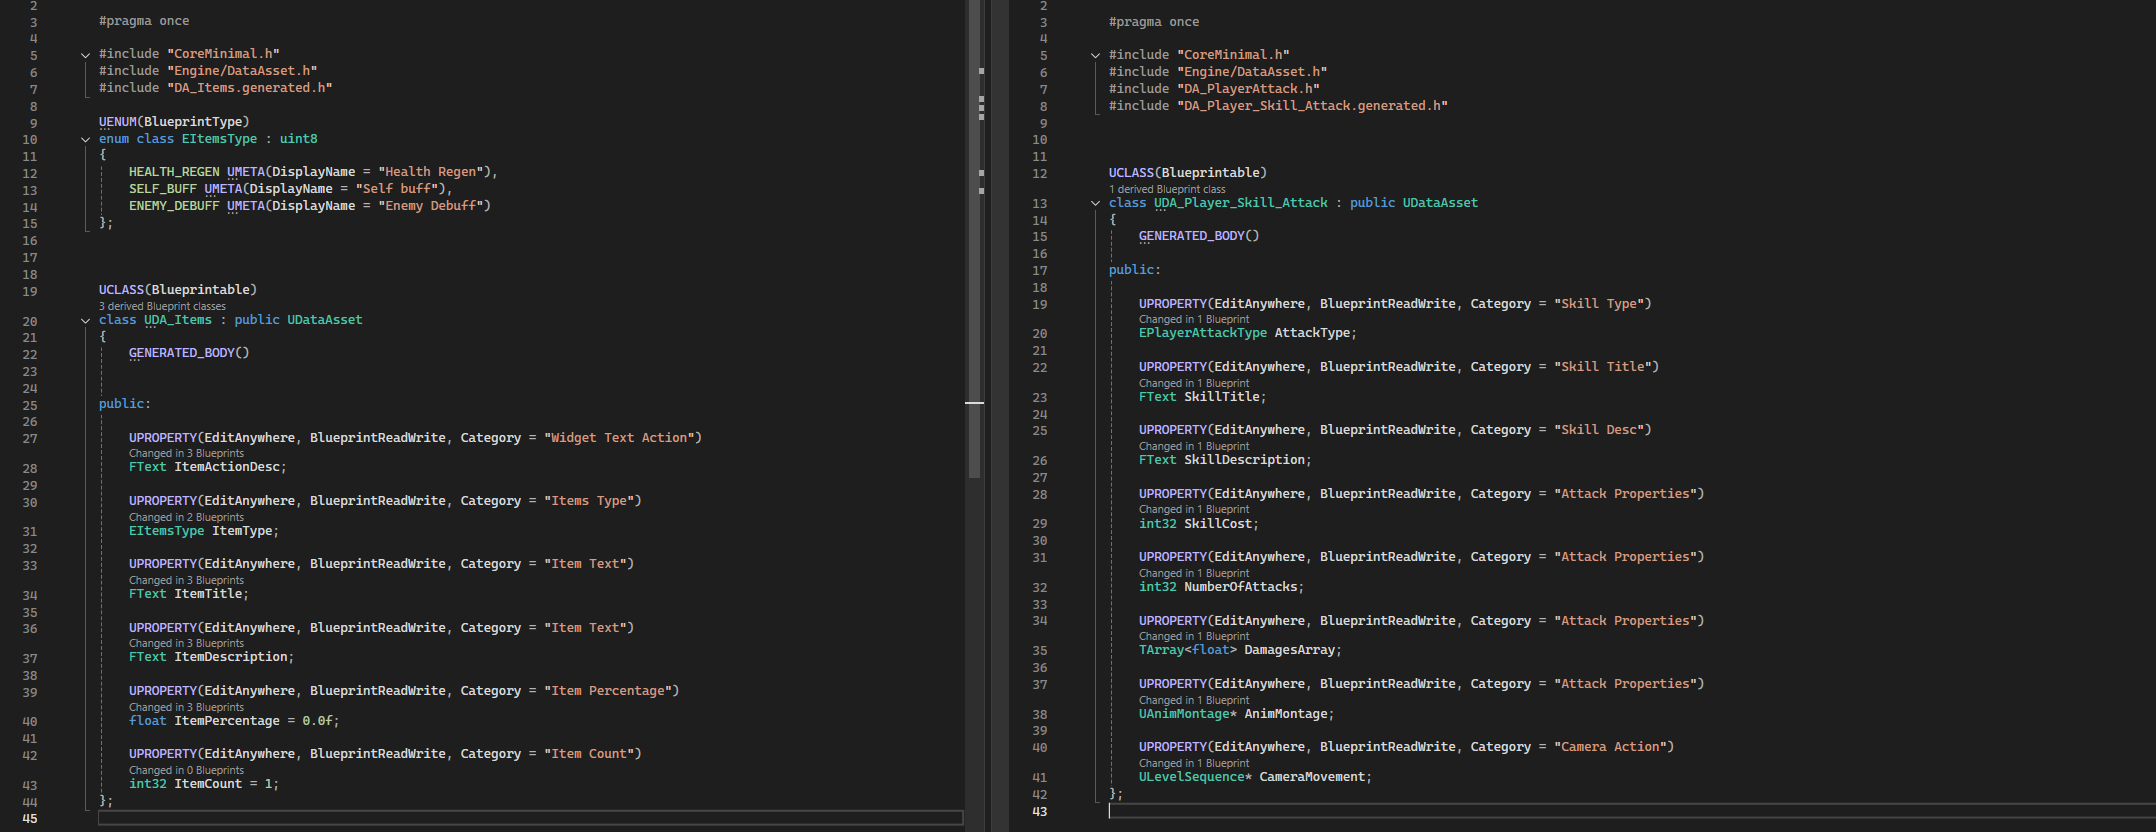
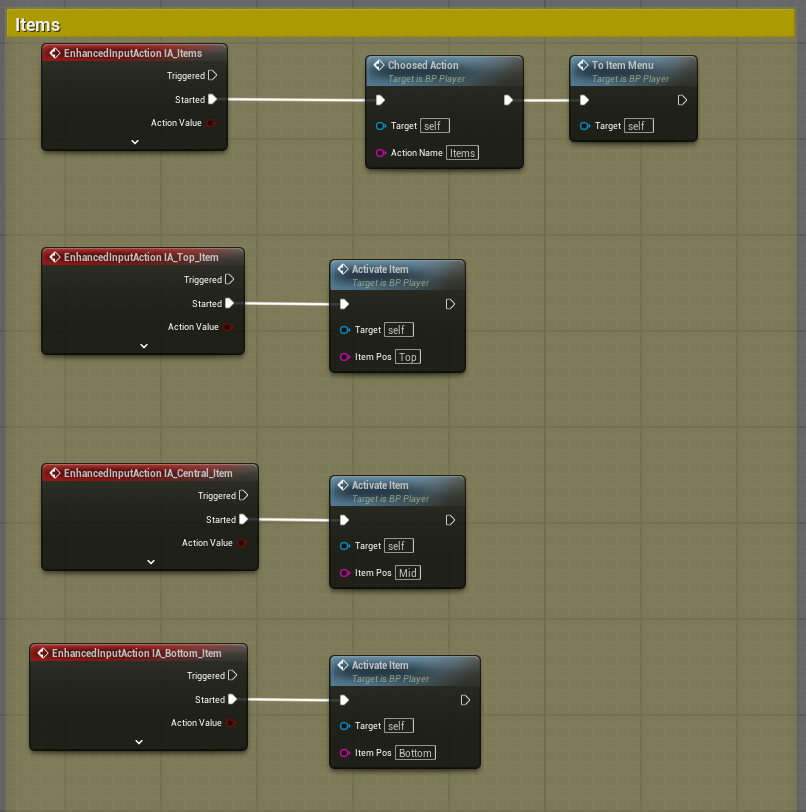
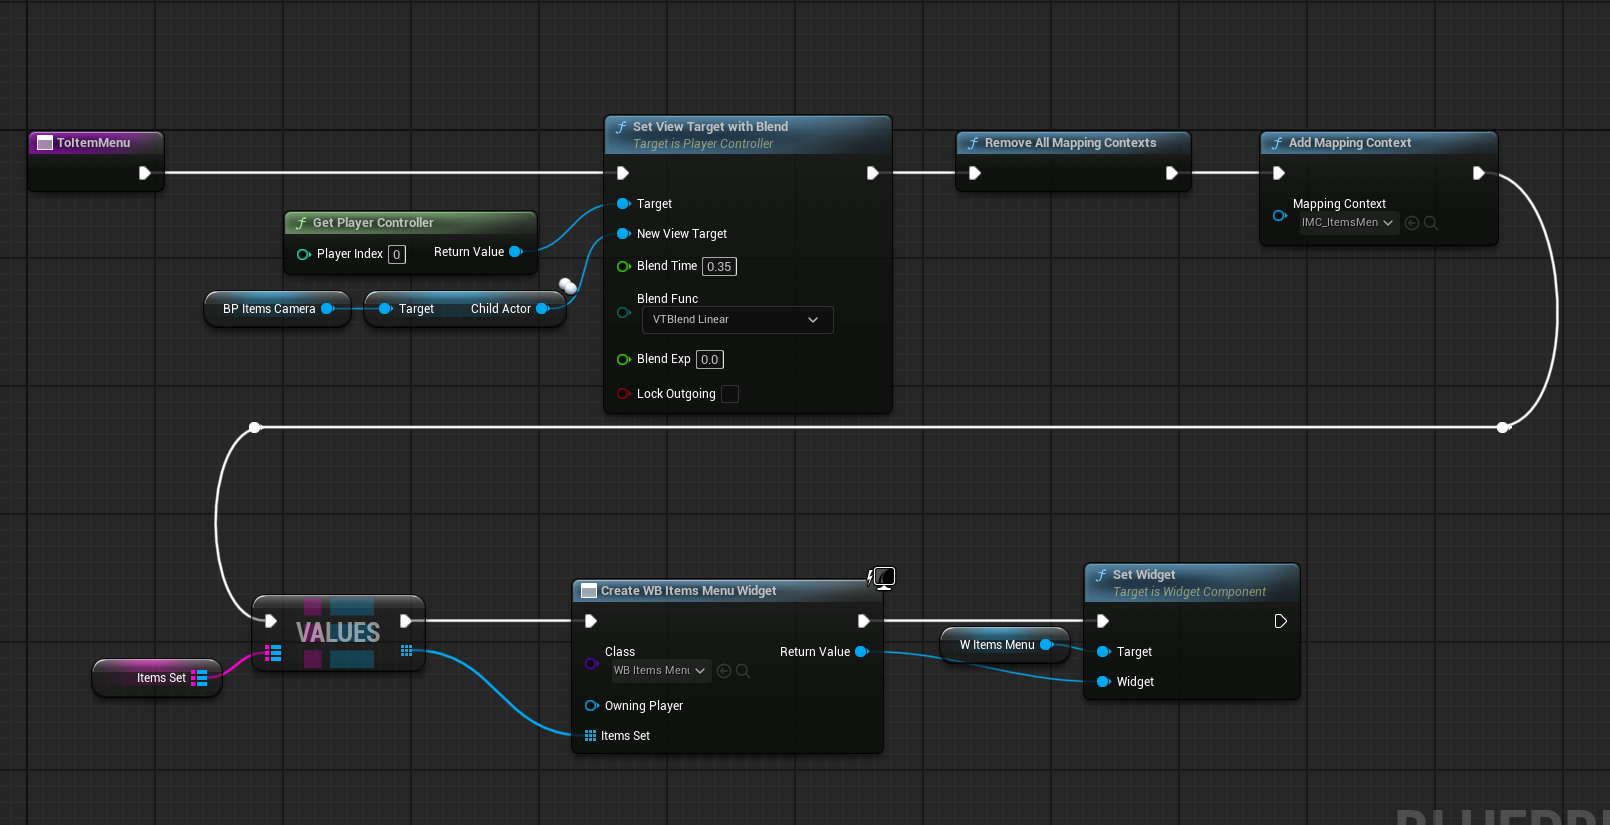
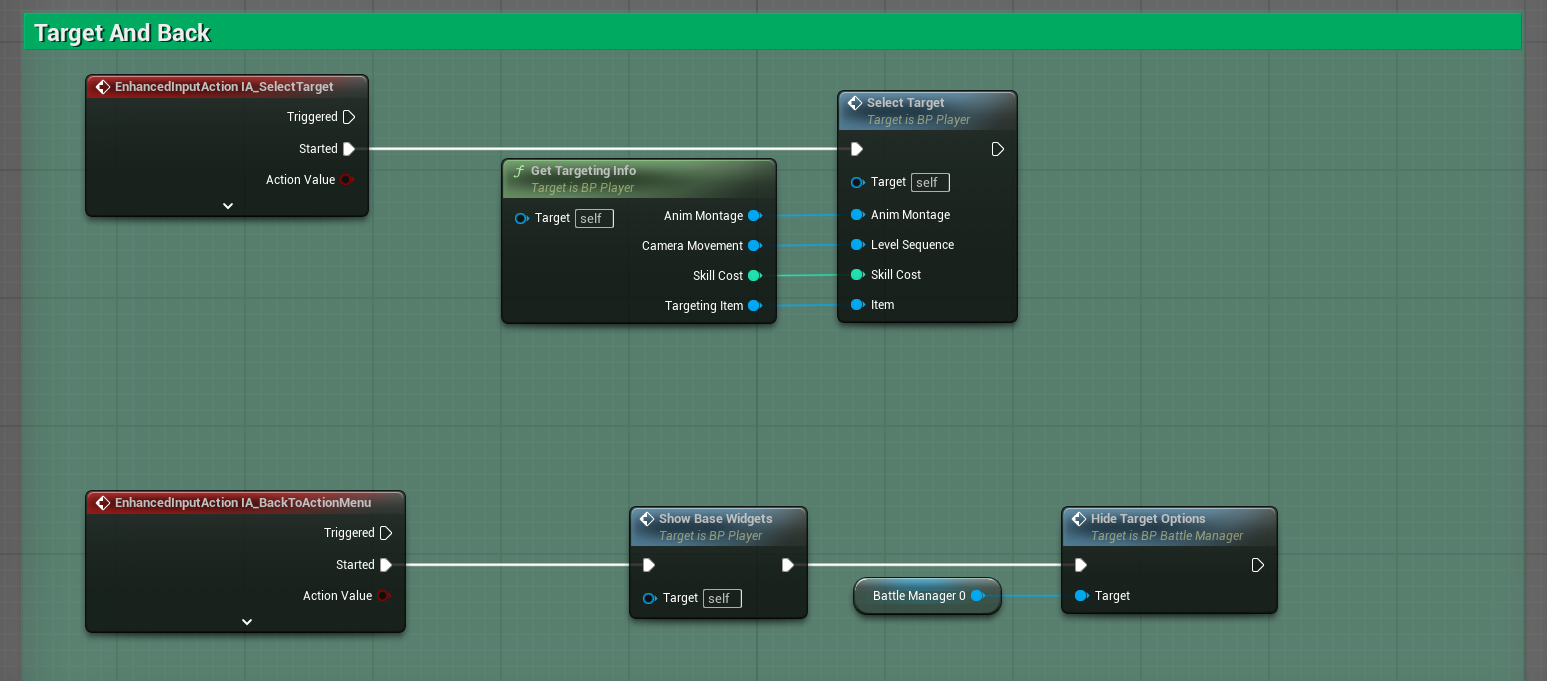
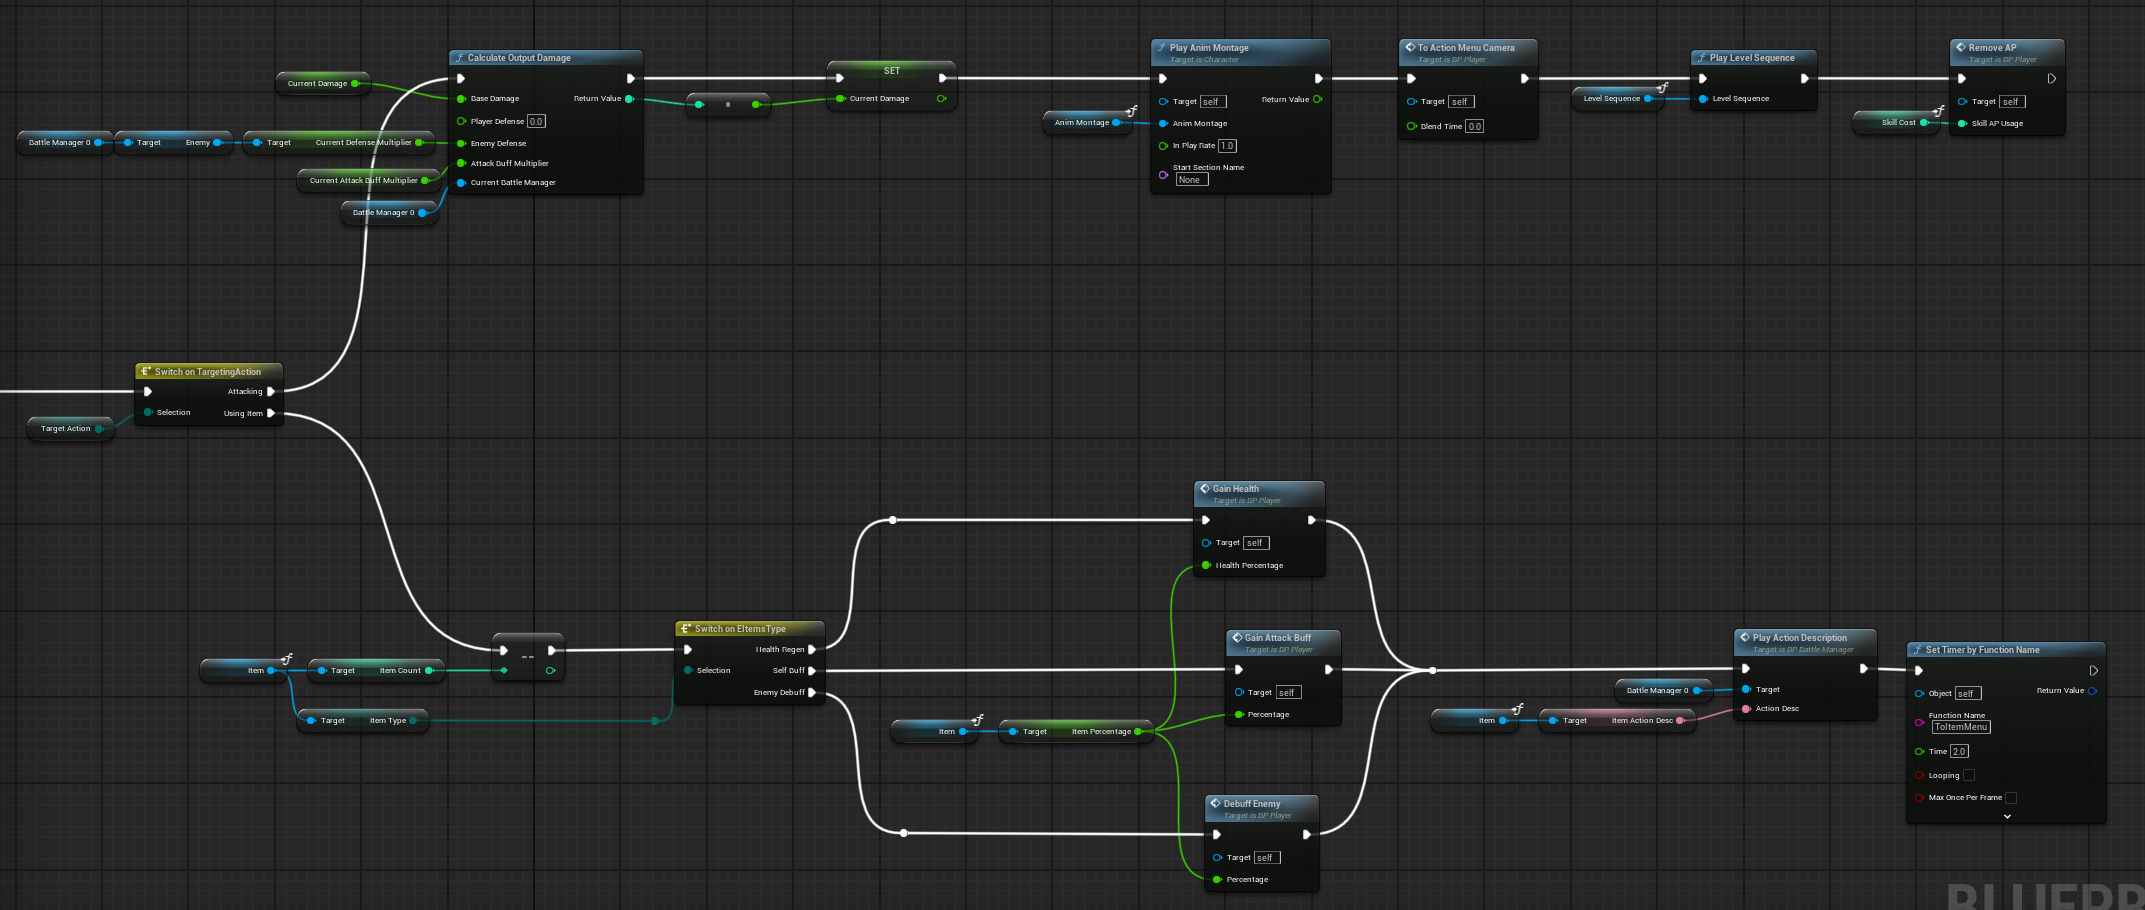
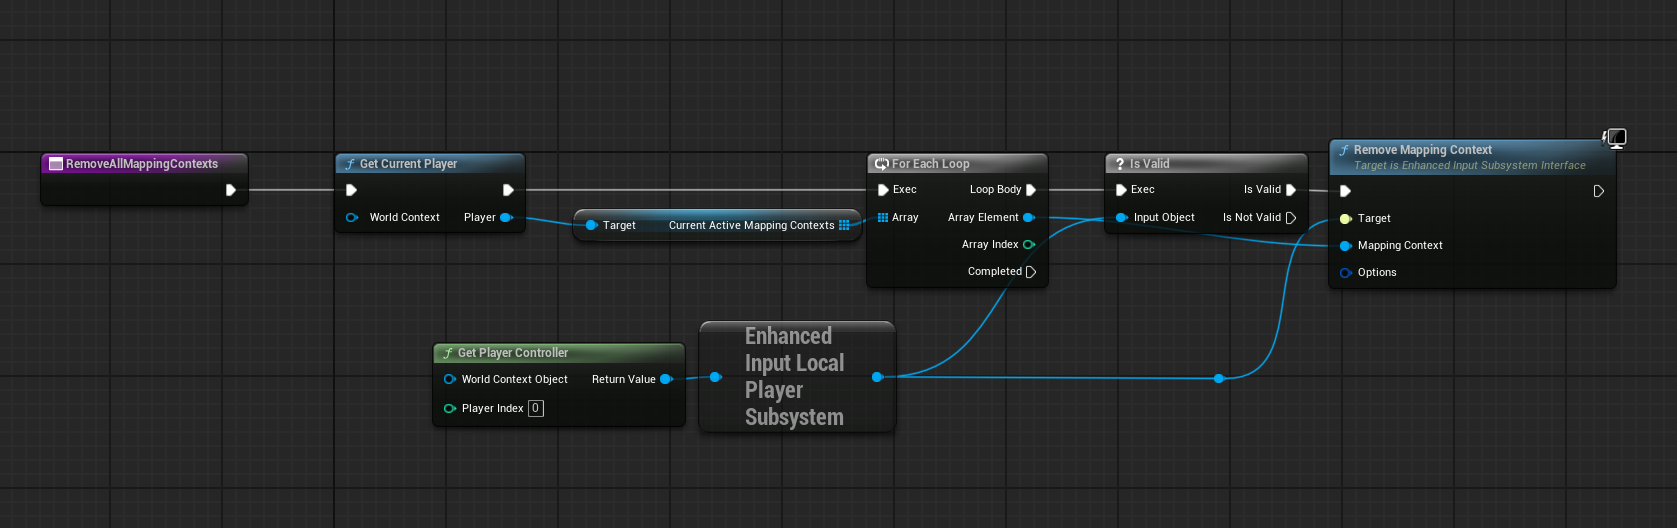
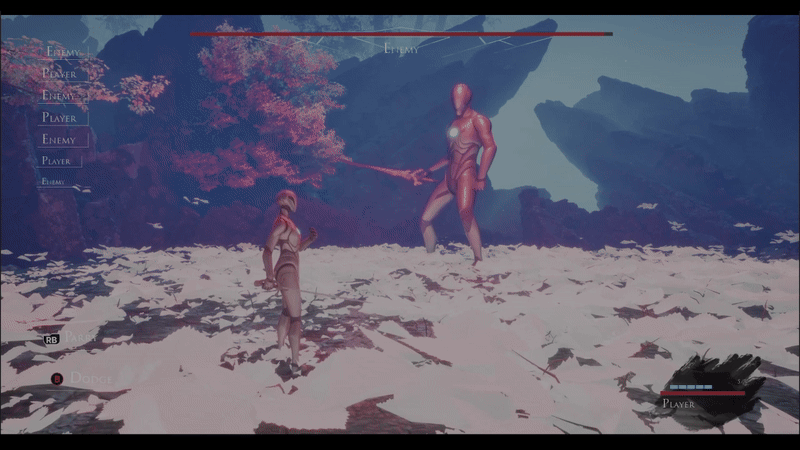
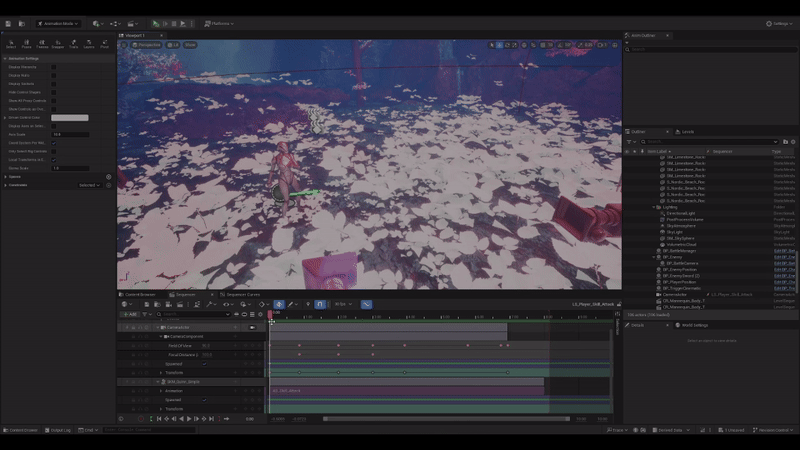
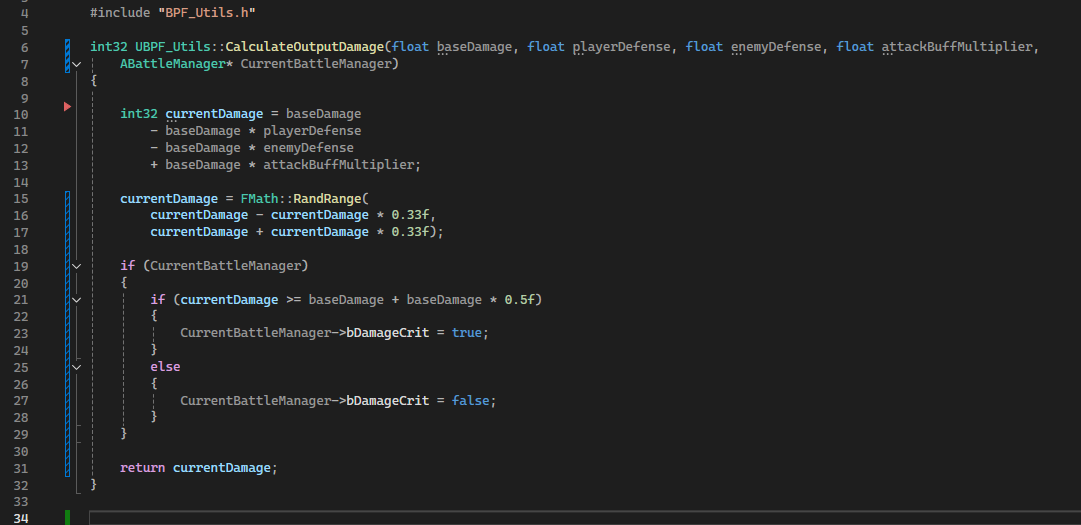
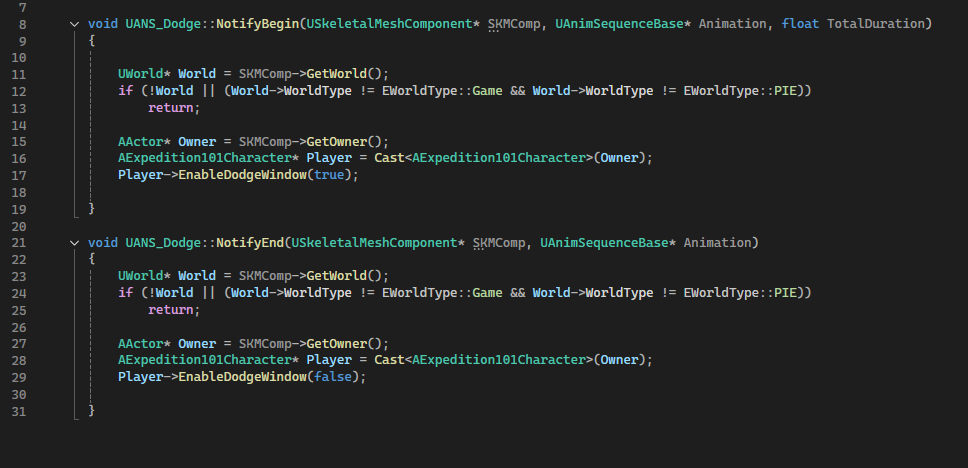
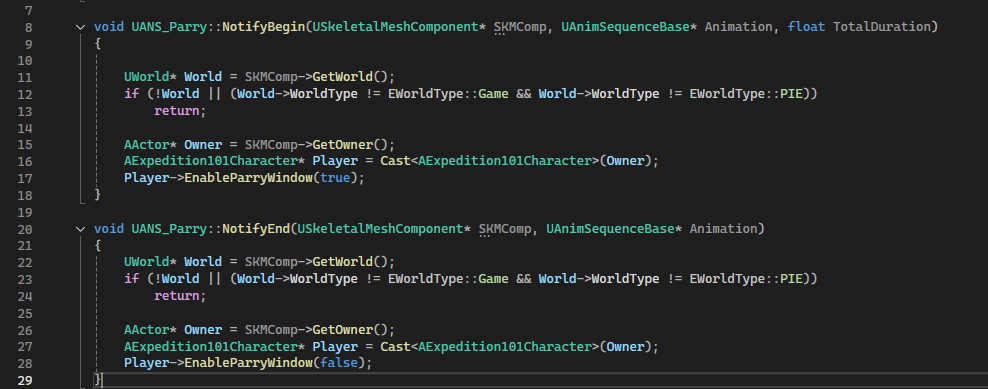
This is a personal project. After playing Clair Obscur: Expedition 33, I wanted to experiment with its combat system. Everything was made from scratch (except for the 3D models).
If you want to see only the combat sequence at an higher resolution check this youtube video.


How I made it

Battle Manager.cpp


Add character to speed array

Turn order management is handled through two dedicated functions in the battle manager, both adaptable to encounters involving one or multiple enemies and players. The first, AddCharactersToSpeedArray(...), computes each character’s combat priority and organizes them into two arrays, one for enemies and one for players, both sorted in descending order of priority. These arrays are then used by the subsequent function to determine the turns order.

Calculate Turns

This is the second function, it receives the two arrays as input from the previous one and compiles a third array that determines the exact turn order, adding each character in sequence. It also calculates how many consecutive turns a character can take based on their speed relative to the second-fastest. I decided to use arrays rather than other data structures since the turn array is directly passed to the Widget Blueprint for on-screen visualization. Using alternative structures would have required conversion, eliminating the benefits of using them in the first place.

Ground Ripple vertex shader


slide 1

Ground Ripple Effect

slide 2

Ripple for ground materials

slide 3

Ripple for foliage

slide 4

Ripple Activation Function

This is the same effect I created for the landing feedback of the ray in RayRunaway (the second project in the portfolio). In this case because I had also foliage in the scene I needed to create another material function that operates only for them (third slide). My main inspiration was the amazing Dragon's Dogma 2 impacts and roar effects , of course I'm very far from that result because the limitation of my approach is that the wiggle stops when exiting the circle width. In the future I would love to dive deeper into landscape interaction with render targets and/or Niagara 2d grids, but for now this was good enough for my application.

Data Assets


slide 1

DA for Player Skills

slide 2

DA for items example

slide 3

DA for enemy attack example

slide 4

DA code implementation example

In this project I used a lot of data asset, they were the easiest way that came to mind for creating multiple attacks, items and skills. Each Data Asset is implemented in C++ because I needed to easily reference them in player and enemy attacks sequences (for damage, animation montages to play, etc.). I also used a Data Table to color code items effects (for example the percentage of health gain is green and the enemy debuff red).

Input Management


slide 1

Input Actions Example

slide 2

To Item Menu Function

slide 3

Select And Back inputs

slide 4

Select Target Function

slide 5

BP function library example

In this section it's showed an example on how I managed inputs actions in the project. At every state of the turn (for state I refer to when you see the action menu or the items menu, the skills menu, when in focus mode, when targeting, etc.) corrisponds an Input Mapping Context that is added after removing the previous ones (through a bp function library call as showed in the slides).

Widgets


slide 1

Most of UI updates

slide 2

Single Skill Widget

slide 3

Skills Menu Construct

slide 4

Main Action Menu Construct

slide 5

Player Show Base Widget Function

slide 5

Combat HUD

We can divide all widgets used in two categories: the combat HUD and the Player widgets. The only widget that use canvas panel is the HUD, all the others are created inside it or put into widget components on the player. In the slide there are some widgets constructions examples, in particular it is shown how the menus (items and skills operate in the same way) are created modularly, you can put either one, two or 3 skills/items. It is also shown how I display widgets attached to the player. Every UI element was made in GIMP.

QTE and Damage


slide 1

QTE Widget Animation

slide 2

MPC Qte

slide 3

BattleManager QTE Activation

slide 4

Sequence Example with QTE

slide 4

Damage Calculation

As can be seen in the first slide the qte widget animation handles also the parameter from the material parameter collection for the progression. I used this method so I could easily access the same parameter from the battle manager (third slide) and check if the player should get a damage buff. Damage Calculation is done with the c++ function shown in the final image that takes into account all buffs and debuffs that can be present.

Animation Notifies


slide 1

AN dodge

slide 2

An Parry

slide 3

AN Enemy hit

slide 4

AN Take Damage

slide 5

Player Check For Hit Function

slide 5

Animation Montage Example

In this section we can see every animation notify that I used for managing attacks movement, it is also shown the player function that determines an hit, a parry or a dodge. My first approach to enemy and player animations was to use only montages for everything except camera movement, this method didn't function as I could have expected because it lacked control on the sequence and they were hard to debug, for those reason I discarded the animation notifies for changing the play rate to simulate time dilation.

Some vfx


slide 1

Focus Mode

slide 2

Focus Post Process implementation

slide 3

Focus mode weak point vfx

slide 4

Item visual effect example

slide 5

Parry and trails effects

slide 5

Enemy's Death Sequence