OpenGL's SpellTyper


What is it

SpellTyper initial gif

This was a group project (2 people) for a university exam. The game is inspired by 80-90's Dungeon Crawlers and by the upcoming Vampire Crawlers.
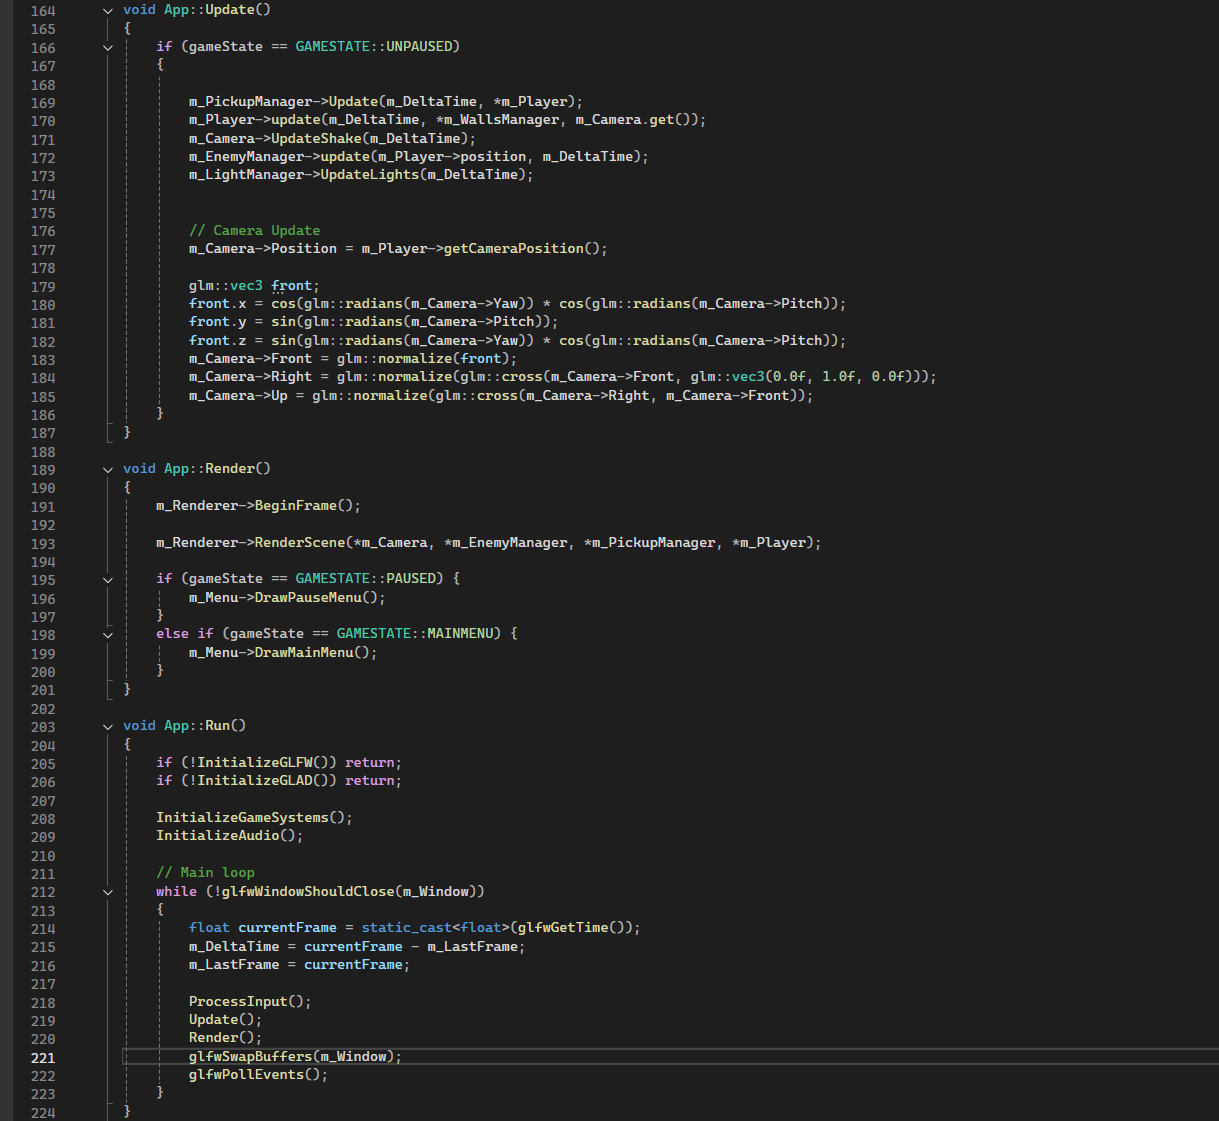
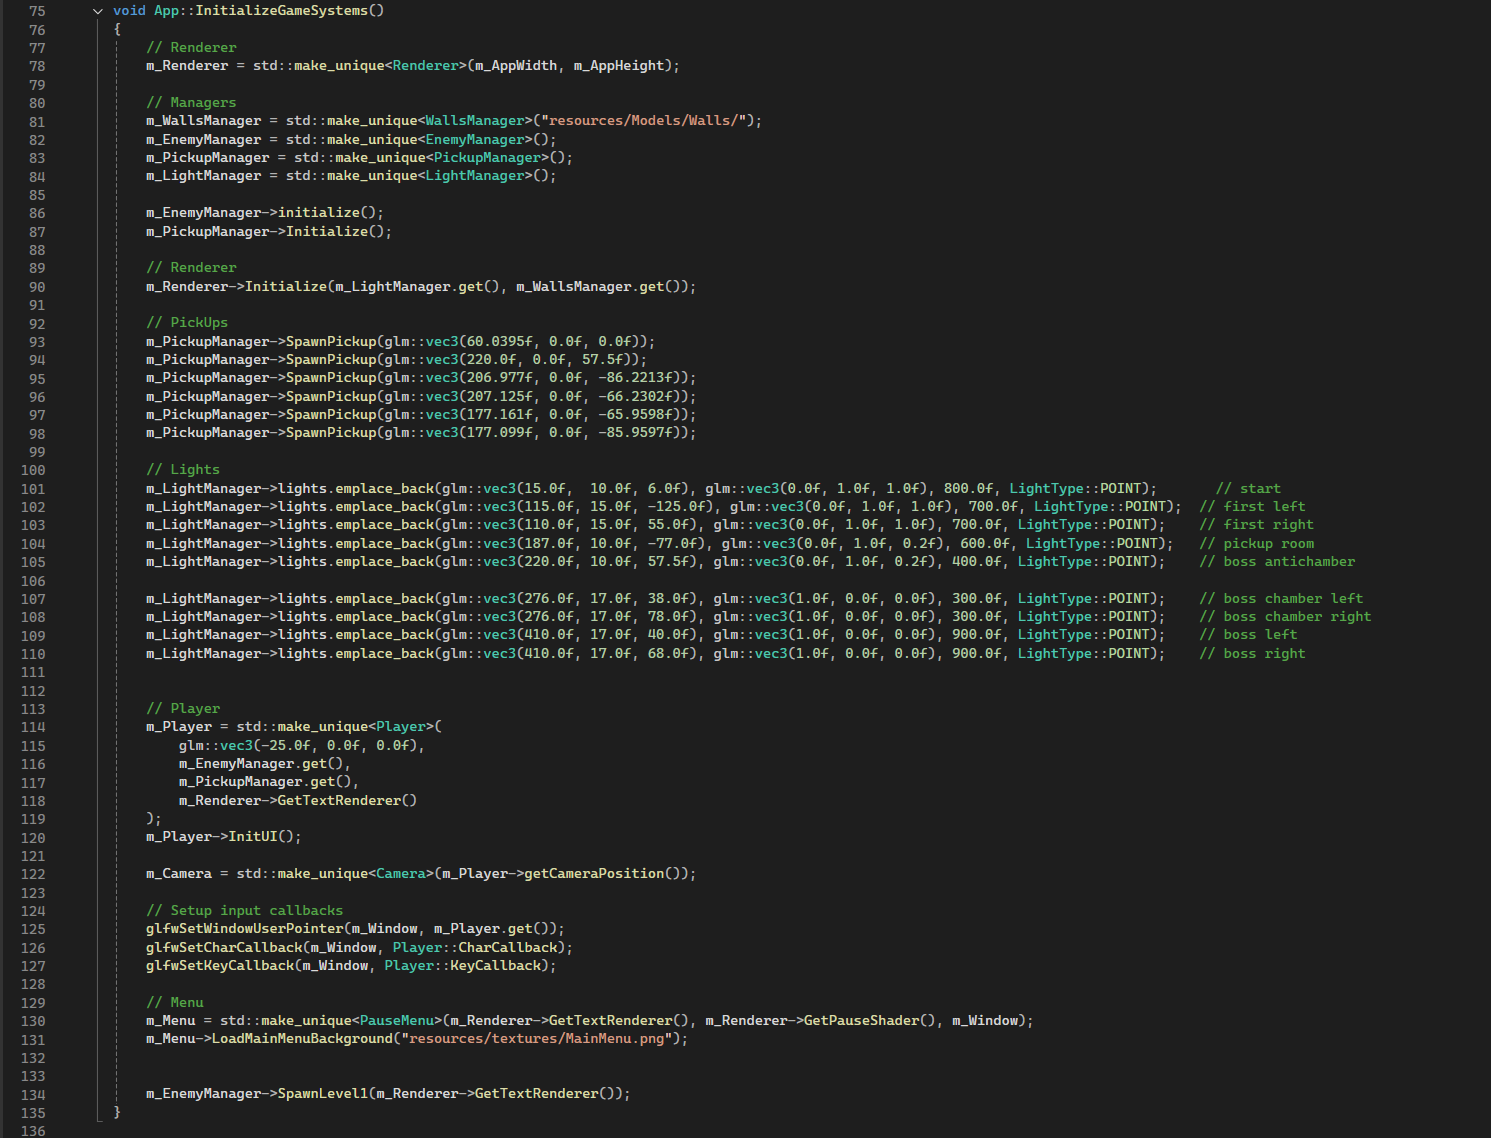
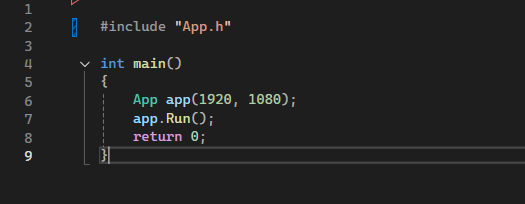
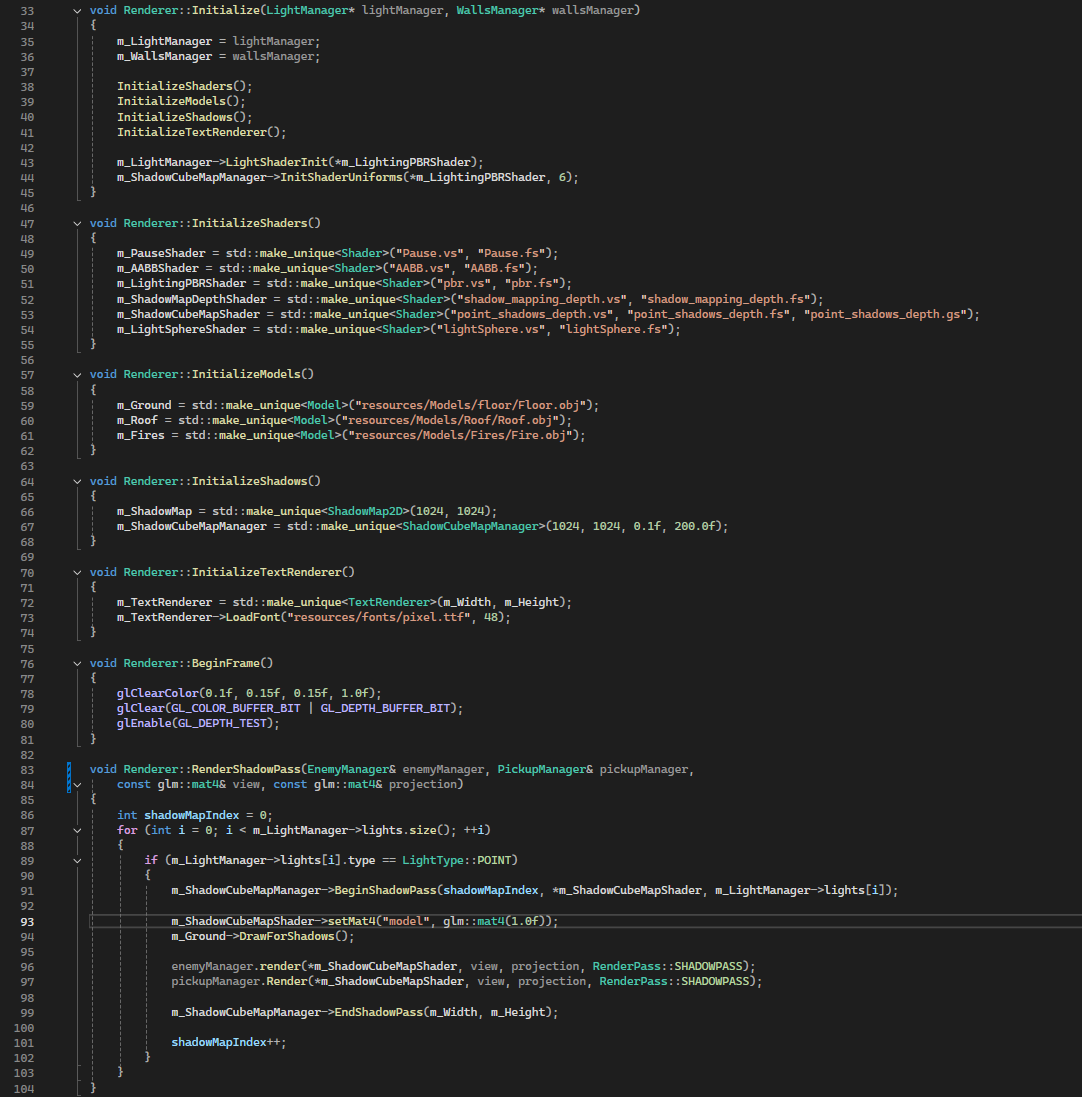
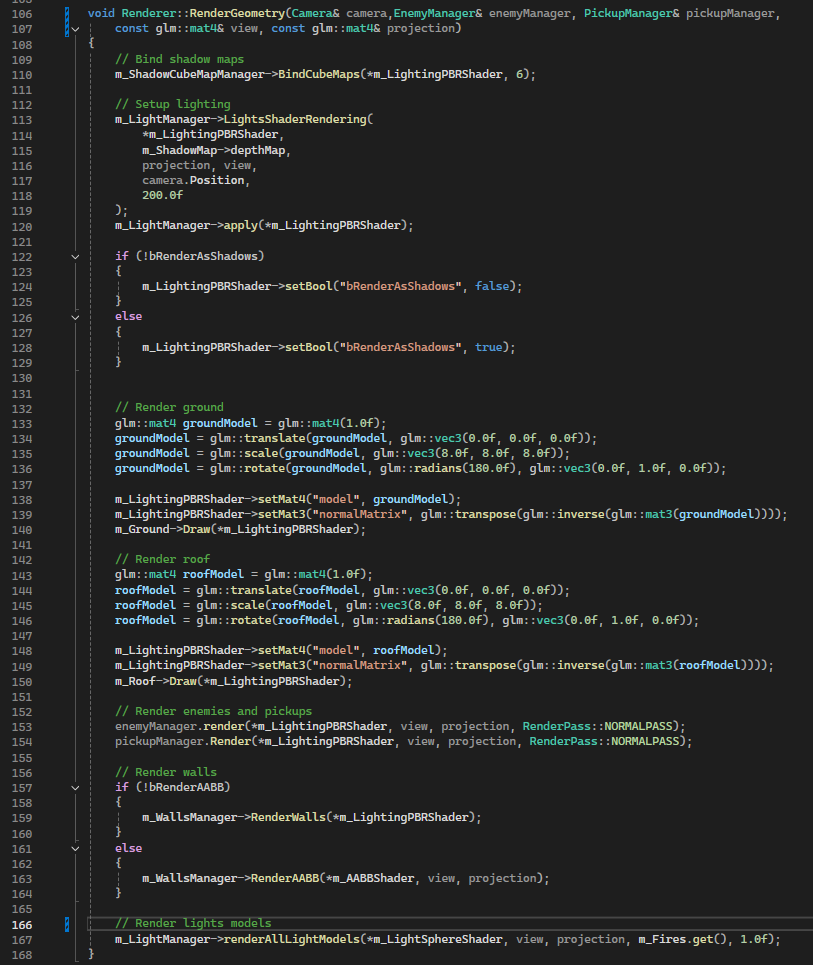
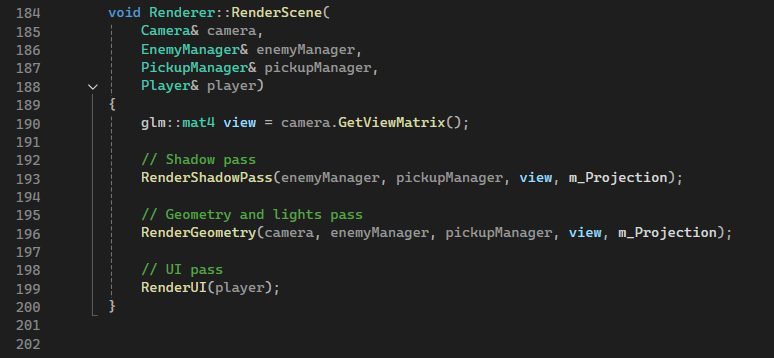
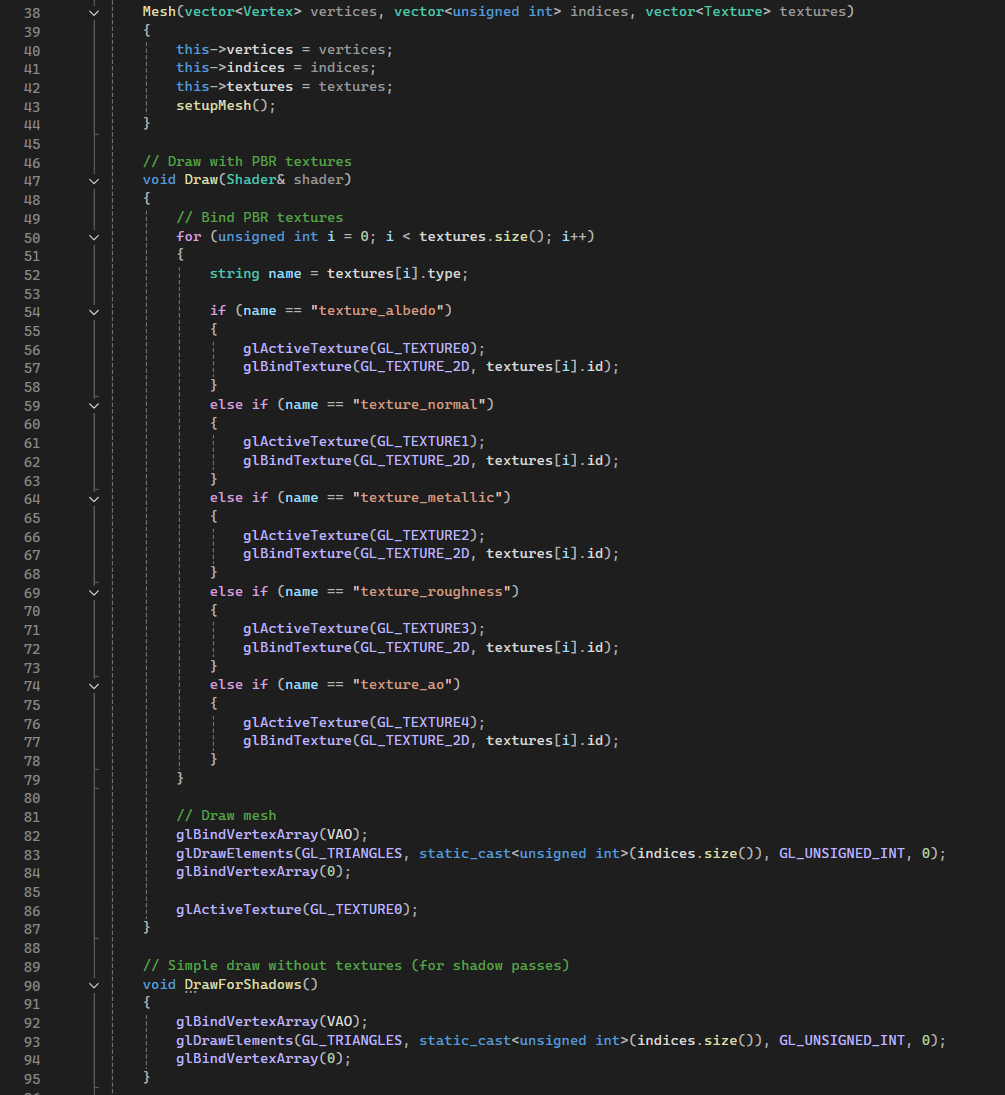
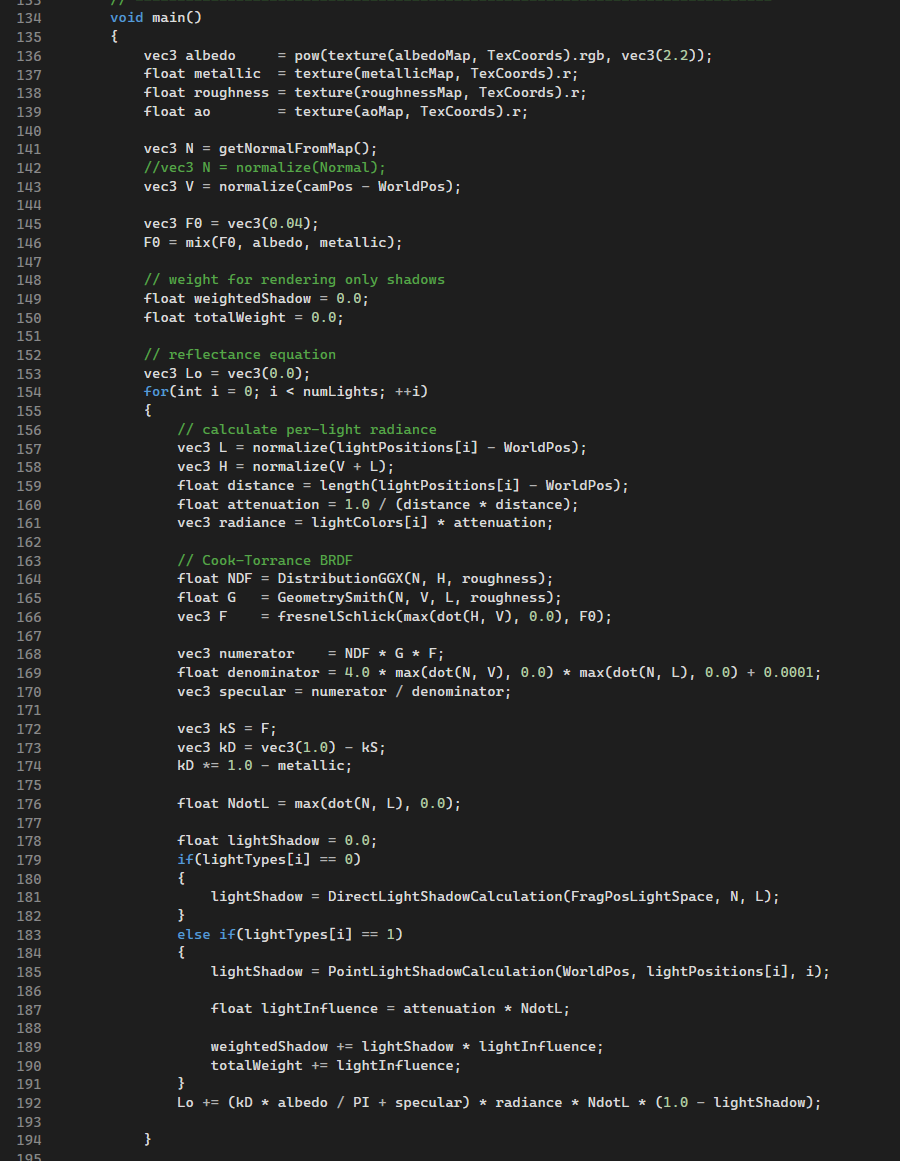
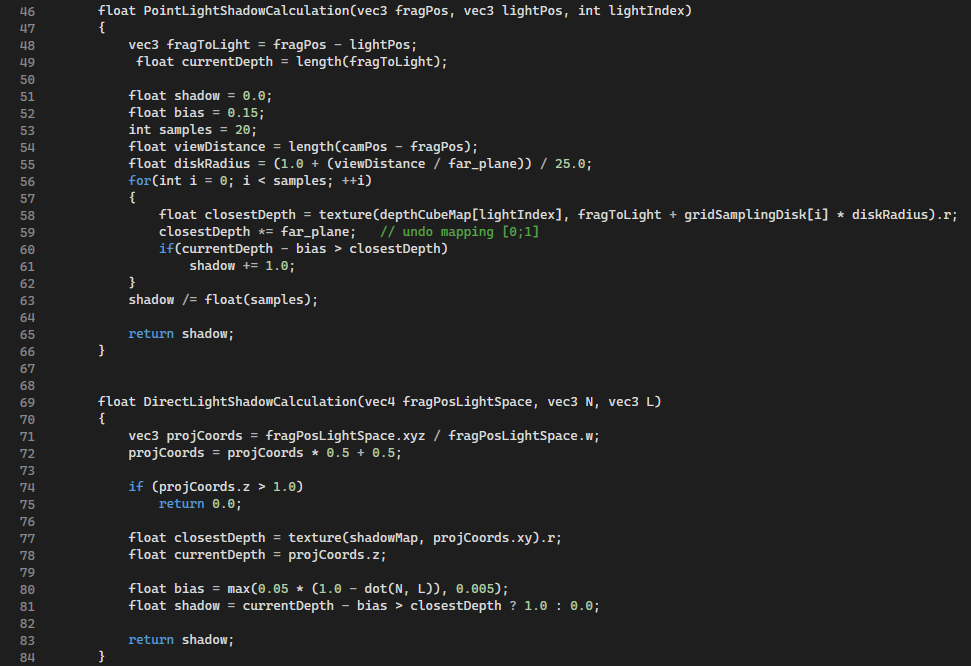
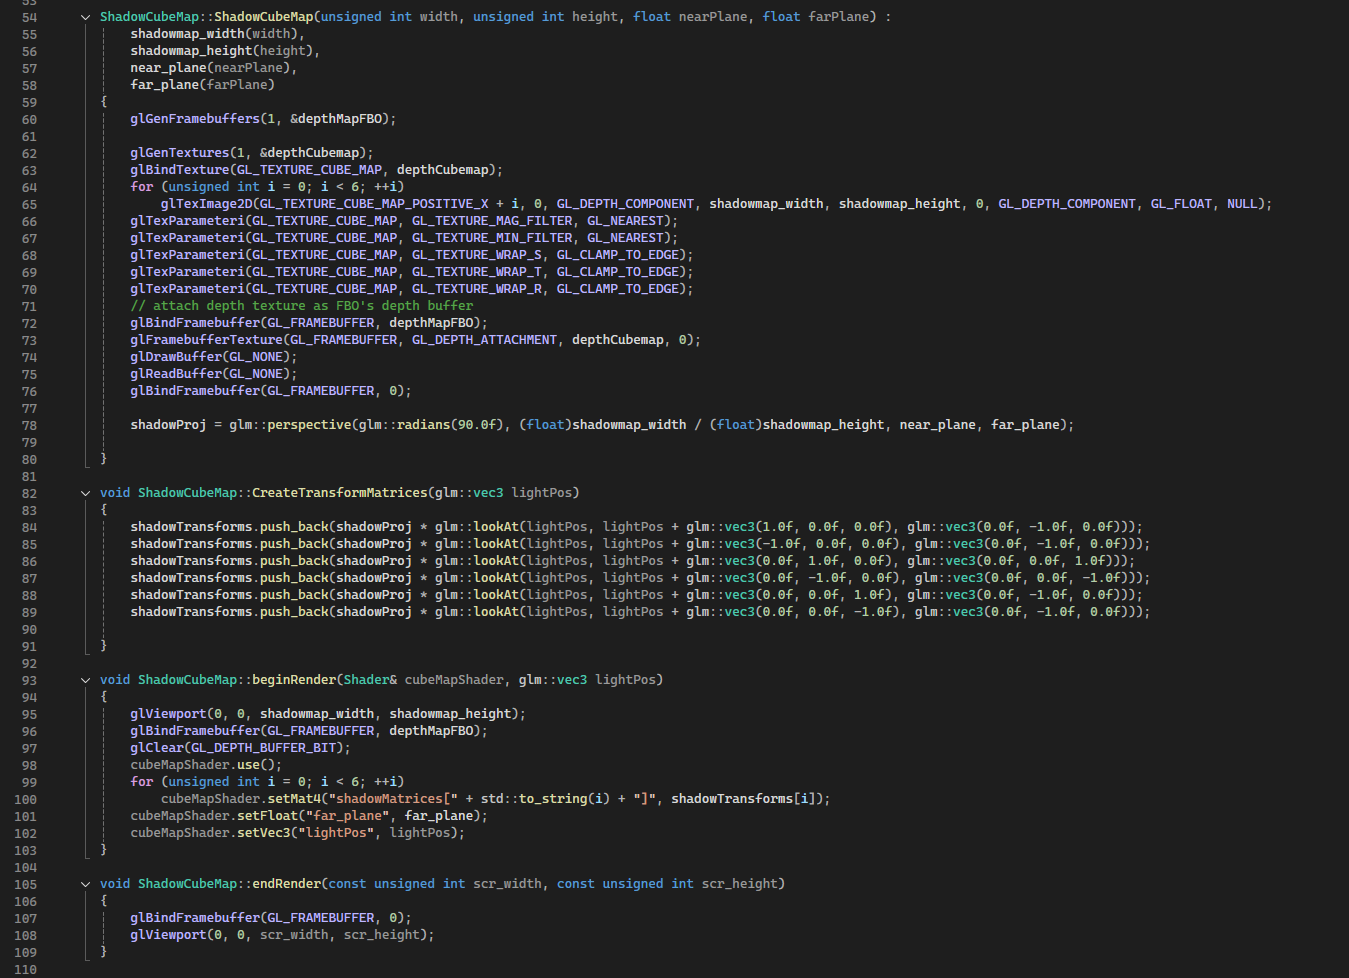
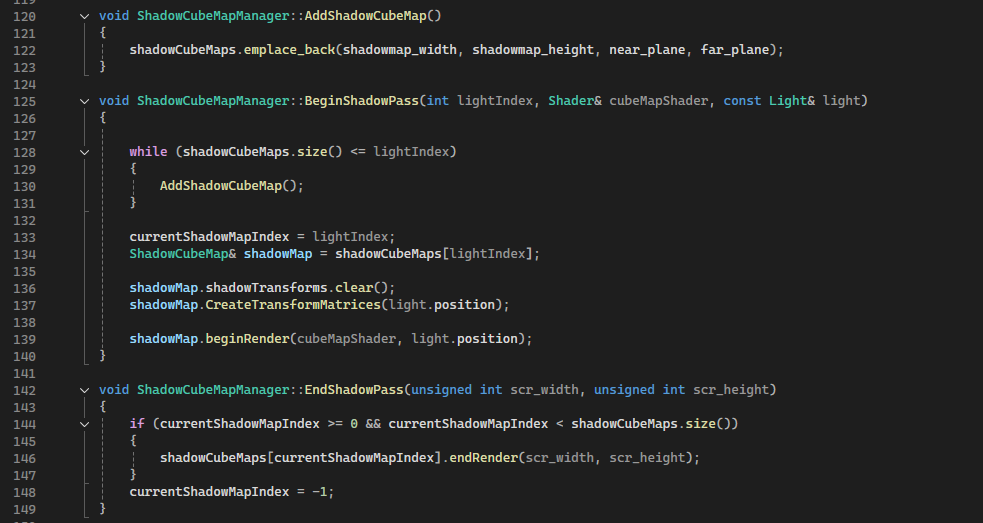
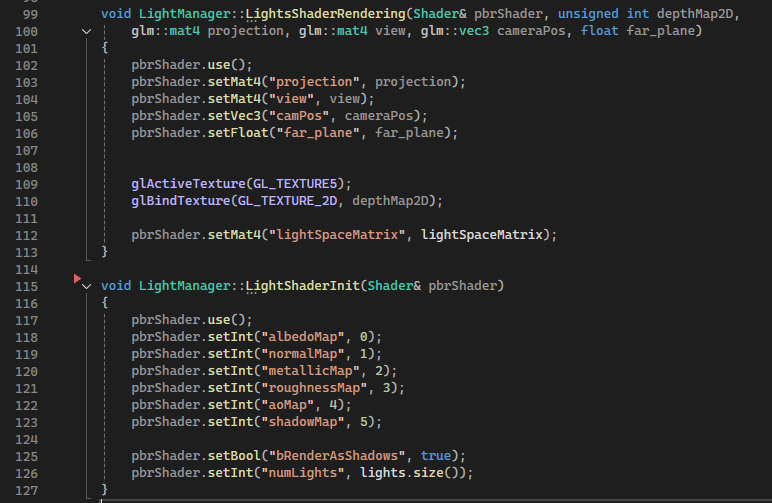
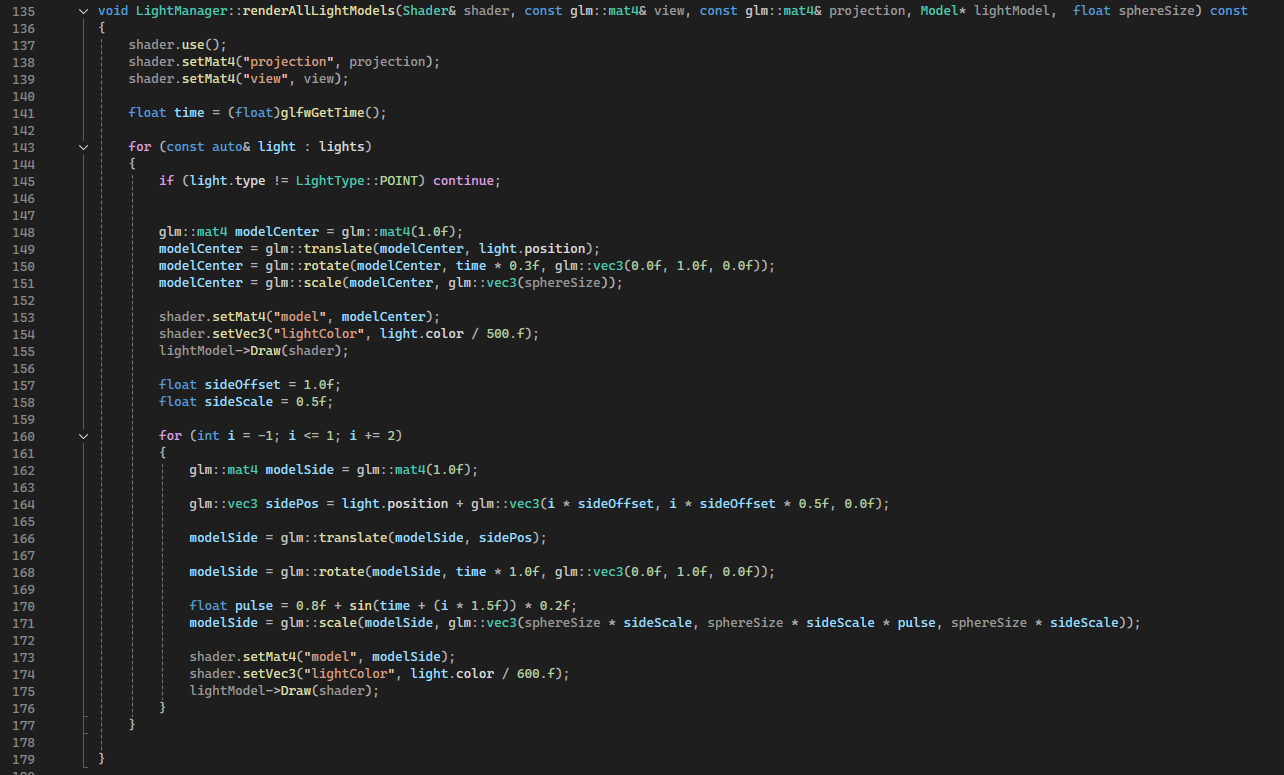
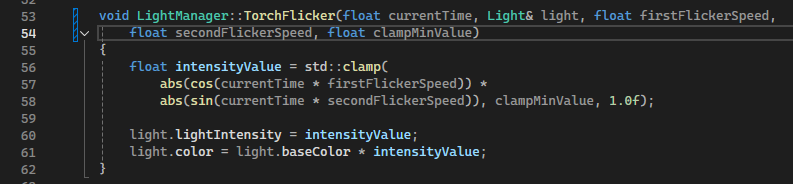
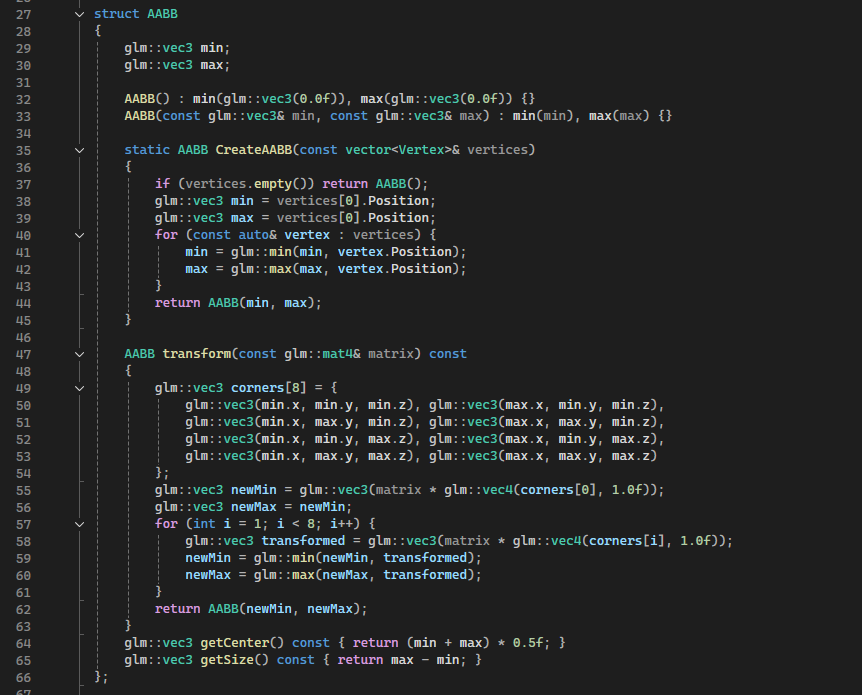
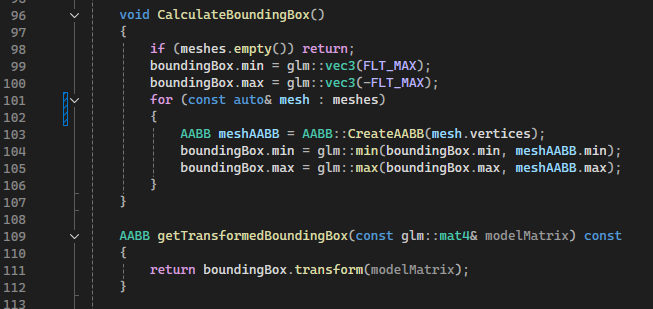
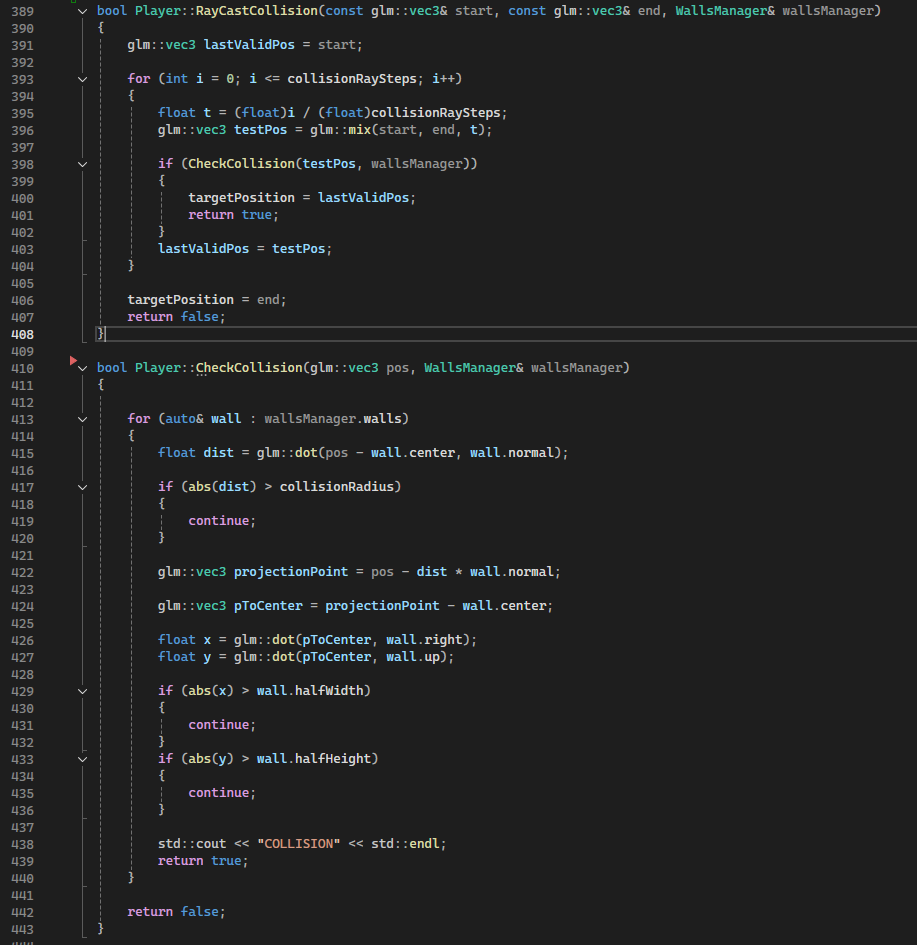
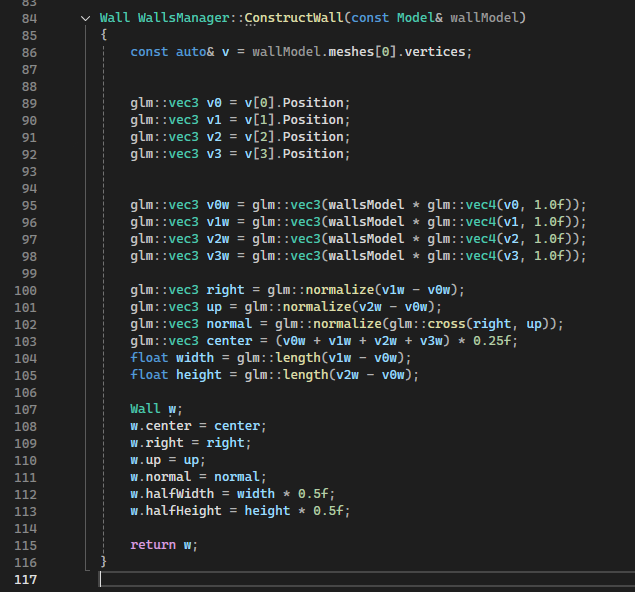
It was made entirely in C++ with OpenGL. 
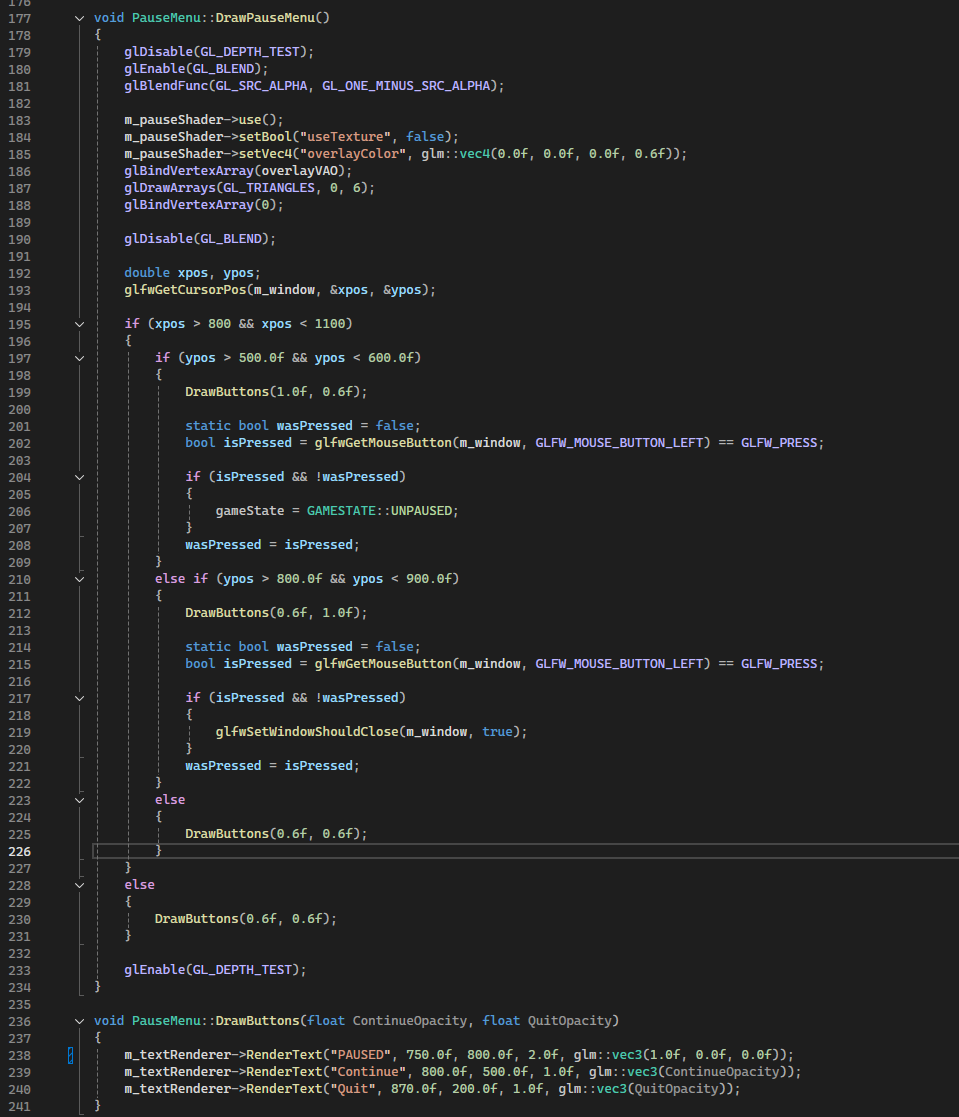
I implemented everything related to the rendering, the text system, collisions and game states (paused, unpaused, main menu), I was also responsible for the code structure.


How I made it

Code structure


slide 1

App Class Run()

slide 2

App initializations example

slide 3

Main.cpp

Before we delve into how I implemented the up-mentioned features it's important to see a little bit how the code is organized to better understand what we are looking at. On the last week of the project I refactored the main.cpp and I divided it into an App.cpp that handles all the necesarry initializations and call the Update() and Render() functions, and I also created the Renderer class to better handle shadow pass, light and geometry pass and ui draws.

Renderer.cpp


slide 1

Renderer Initialization and Shadows pass

slide 2

Normal geometry and light pass

slide 3

RenderScene call

slide 4

Mesh.h draw calls

In this section we can see how the renderer is structured. During the initialization functions we set the shaders and the models (.obj files) used in the game and I also call the initialization of shadows Manager and lights Manager that we will see later. For the scene rendering I used an enum to render the models in two different modes (for shadows and for lights), the draw calls are present in the mesh.h file shown in the last image (the base mesh.h comes from the Assimp library but I modified it in order to enable PBR).

PBR


slide 1

Light and Shadows example

slide 2

PBR.fs Main()

slide 3

PBR.fs ShadowsCalculation

The Pbr implementation is very basic, the only things I changed from this site (that I used to study the theory and how to translate it into code), are the possibility to use point lights or directional lights with the corrsiponding implementation of shadows models. In order, for a model, to be affected by multiple lights at the same time, we pass an array of shadow cube maps generated with a geometry shader.


out vec4 FragColor;
in vec2 TexCoords;
in vec3 WorldPos;
in vec3 Normal;
in vec4 FragPosLightSpace;
in vec3 Tangent;
in vec3 Bitangent;

// material textures parameters
uniform sampler2D albedoMap;
uniform sampler2D normalMap;
uniform sampler2D metallicMap;
uniform sampler2D roughnessMap;
uniform sampler2D aoMap;

// shadows
uniform sampler2D shadowMap;
uniform samplerCube depthCubeMap[10];

// lights
uniform vec3 lightPositions[10];
uniform vec3 lightColors[10];
uniform int lightTypes[10];

uniform vec3 camPos;
uniform int numLights;
uniform float far_plane;

uniform bool bRenderAsShadows;
        

In this code block we can see all the uniforms and input parameters used by the pbr shader. The magic number 10 is used to set a limit on how many lights we can put in the scene, because we didn't need more and, most importantly, because we didn't implement a system to dynamically load/unload portions of the map.

Shadows.cpp


slide 1

Shadow cubemaps generation

slide 2

Shadows pass functions

For the Shadows I created a ShadowMap2D, a ShadowCubeMap and a ShadowsCubeMapManager class. In the first slide we can see an example of a shadow cube map construction (we use depth buffers because it's sufficient for shadows calculations), the CreateMatrices() is used to pass those matrices to the geometry shader that lets us avoid rendering the scene 6 times from the light perspective. In the second slide we can see the functions called during the rendering shadows pass, we use the currentShadowMapIndex to correctly render the shadows for the specific point light.

Light.cpp


slide 1

PBR shader bindings

slide 2

Render light models

slide 3

Torch-like light flickering

To handle lights in the scene I created the LightManager and Light classes. The LightManager handles initializations, updates and light models rendering (the flames in the scene). Each Light can be set to be Directional or Point through an enum. In the slides we can see some of the functions used for the geometry pass (shader initial bindings and shader necesary bindings like view and projection matrices). It is shown also how the flames that represent point lights are rendered in the scene. In the last slide there is the very simple light flickering.

Collisions


SpellTyper collisions gif

For collisions management I tried first to use axis aligned bounding boxes (AABB), this approach couldn't work because of the theory behind them, they cannot be used for precise collision against diagonal walls, what I was trying to do was achievable through Oriented Bounding Boxes (OBB). Due to time reasons instead of learning how to implement OBB I used a simple sphere to plane collision system (discussed in the next paragraphs).
(In the gif the AABB are shown in green).

AABB


slide 1

AABB struct

slide 2

Calculate Bounding Boxes

The AABB implementation is very standard, it uses two points (min and max), that represent the maximum and minimum vertices positions of the object, the transform(...) function permits to accurately represent the bounding box relative to the model worldMatrix. The CalculateBoundingBox() is written inside the model.h from Assimp, it can be used for types of .obj files, not only the walls we used. I discarded this approach for collisions because when the boxes are not oriented, the cubes that diagonal walls create are too big and the player would be stopped too early.

Collision System used


SpellTyper Player collisions

The collision in the game is calculated with the CheckCollision(...) function, for each wall in the scene it checks if the player position is close enough to the wall center in the direction of the wall normal, if so it controls if the projected point to the wall reside inside it (with the statement on half width and half height). Because the player doesn't move smoothly but with a step of 10 units at a time, I used the RayCastCollision(...) that checks the collision i times from the start position to the targeted step position, if a collision is detected the target position is set to the last valid one so the player stops.


SpellTyper Player collisions

In order to check the collision with the walls, I needed, for each of them, to create a plane that could represent them and store them, the image shows how the wall construction is done and how the wall entities are handled (by the wallsManager). To represent the wall plane in the space we need only 4 vertices, from those we can calculate the right and bottom side and the center, all of them used in the CheckCollision(...) functions seen previously. The walls .obj are loaded from files, at first they were one single model, but for this approach to work, unfortunately, we needed to divide them.

Game States and Pause Menu


slide 1

Pause State Example

slide 2

Pause Menu draw function

In the game what is rendered is determined by a gameState, an enum that can be: Paused, Unpaused, MainMenu. We saw the gameStates in action in the first set of slides in the App::Render() function where it checks for Paused or Main Menu to draw the corresponding UI menus. An example on how those menus are drawn to the screen is shown in this set of slides, here we can see how the mouse position is checked to highlight text on hover. If the player click on the "continue" button the gameState is changed back to Unpaused. (The pause menu is drawn with just two black triangles with an alpha value of 0.6).